Image to Video
Turn the image into a social-ready video. Choose a model (WAN, Kling or Seedance Pro), write an optional prompt, and batch up to 100 clips.
Written By Arina
Last updated 3 days ago
What the tool does
Image to Video takes your reference image and synthesizes a short clip that preserves the subject and general styling while adding motion, camera moves, and subtle scene dynamics. It can create any kind of video, fully supports NSFW, and works equally well for personal projects or content made for social media.
🎬Results
A look at what Image to Video can produce from a single reference.
Don't want to set everything up yourself?
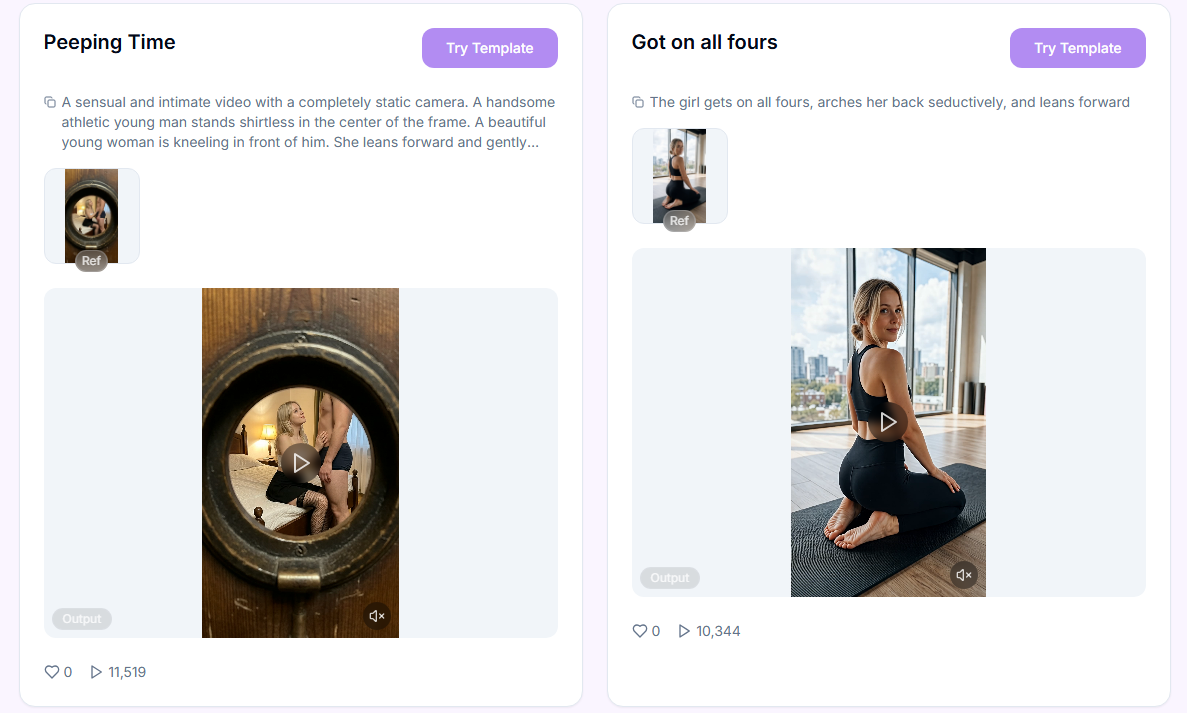
Skip the setup — pick a ready-made style from the Templates library and drop in your reference. Templates can be filtered by tags or searched by name.
Your step-by-step guide
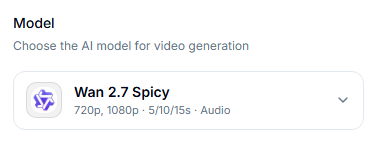
Step 1. Model — choose which model animates your image from the drop-down list. Tap one below to see what it's best at.
Quick pick:
Need the longest single-pass clip (up to 30s) via Reference Mode, with optional native audio and up to 9 images + 3 audio clips as references - Wan 3.0 Spicy.
Need the cleanest and most realistic SFW result → Kling 2.1.
Need premium SFW clips with enhanced clarity and refined motion → Kling 2.5.
Need SFW talking videos with native audio → Kling 2.6 + Audio.
Need ultra-fast previews → Seedance Pro Fast.
Need controlled storytelling and smooth transitions between defined states → Seedance Pro.
Need native audio-video generation with expressive motion → Seedance Pro 1.5.
Need audio-driven animation with or without an uploaded audio file → Wan 2.5 + Audio.
Need ultra-fast image-to-video with LoRA-driven character motion → Wan 2.2 + LoRA.
Need longer audio-driven clips with more expressive motion and duration → Wan 2.6 + Audio.
Need fast dynamic animations and quick concept clips → Grok.
Need ultra-fast high-detail NSFW with dramatic camera moves and moody cinematic grading → Wan 2.2 Spicy
Need the best motion quality and temporal consistency in NSFW + audio-driven clips → Wan 2.7 Spicy (5s / 10s / 15s)
Step 2. Upload Reference Image — drop 1–100 images; each file renders its own clip. Use sharp, well-lit inputs.
Step 3. Model Settings — configure model-specific parameters such as adding LoRAs, enabling Fix camera position, or setting a Start/End Frame — available controls depend on the selected model.
Step 4. Prompt — describe motion and vibe: “slow push-in, hair moving gently, soft wind, cinematic grade.” Most models need one, but a few (like Wan 2.7 + LoRA) work without a prompt — check the model card above, since adding one can sometimes conflict with a model’s built-in style.
Step 5. Negative Prompt (optional) — restrict unwanted artifacts (available for some models): “warped hands, heavy blur, oversharpened, flicker.”
Step 6. Duration — ranges from 5 to 30 seconds depending on the model (up to 30s on Wan 3.0 Spicy). Check the model card above for exact options.
Step 7. Quality — select output resolution. Most models support 480p, 720p, and 1080p, but exact availability varies by model — check the model card above.
Step 8. Generate Videos — starts the batch; you’ll see per-clip status and can open results.
Prompting tips for video
Focus on motion and camera: “gentle parallax, slow dolly-in, subtle hair flutter, cloth ripple, soft depth-of-field.”
Keep it one idea per clip. If you want multiple motions, render separate versions (it’s faster and cleaner).
For identity consistency, describe key facial/hair traits in the prompt and choose the same model/duration across the batch.
Use a compact negative: “flicker, ghosting, plastic skin, extreme warp, watermark, text.”
Match your prompt to the model: audio cues like “she says…” or ambient sound only work with Audio-capable models.
For the Spicy (NSFW) models, describe the specific action or pose you want — a vague prompt won’t automatically produce explicit content on its own.
A clean, well-lit reference image often improves motion coherence more than a longer prompt.
See a Full Guide "How to Prompt Image to Video".
Best practices & pro notes
Start with 5s, approve the look, then do 10s (or longer, on models that support it) for selects.
It's best to generate the video from already fully finished materials, don't leave upscale and Head & Face Swap for the last step in this case.
If a model supports Start/End Frame, use both instead of leaving End Frame blank — it gives far more predictable results.
Batch a few reference images with the same settings to compare options, then only upscale or face-swap your favorites — saves credits.
Match duration to where the video is going: 5–6s for Stories/Reels, up to 15s for longer-form content on most models, or up to 30s on Wan 3.0 Spicy for full scenes in one pass.
Pick a reference that already matches what you want in the video — models can't make complex transformations. Choose a reference that's already in the pose and outfit you're aiming for. Want two people in the video? Your reference needs to show two people too.
Known limitations (and how to mitigate)
You're working with AI — occasional mistakes, artifacts, or unexpected results are normal, and a 100% correct result isn't guaranteed. If a clip doesn't look right, try regenerating or adjusting your prompt or reference.
Tiny text/logos will not be readable — overlay in post if required.
Hands/occlusions can introduce warps; reduce complexity or crop tighter.
Audio-video sync can drift slightly on longer clips (10–30s) — shorter clips tend to stay in sync more reliably.
If something didn't work as expected, contact us in the support chat in the app, or email support@zencreator.com.
FAQ
Full model courses
Want to go deeper on a specific model's prompting style? Each has its own in-depth course inside ZenCreator: