Text to Image
Write a prompt, pick a provider, optionally add LoRAs, and generate a batch you can immediately upscale, face-swap, or publish.
Written By Arina
Last updated About 1 month ago
What the tool does
Text to Image creates images directly from text. You control subject, setting, lighting, composition, and style. Choose a model and (with SDXL) attach LoRAs to steer body type or stylistic details. Results are commercially licensed and can be sent downstream to any ZenCreator tool.
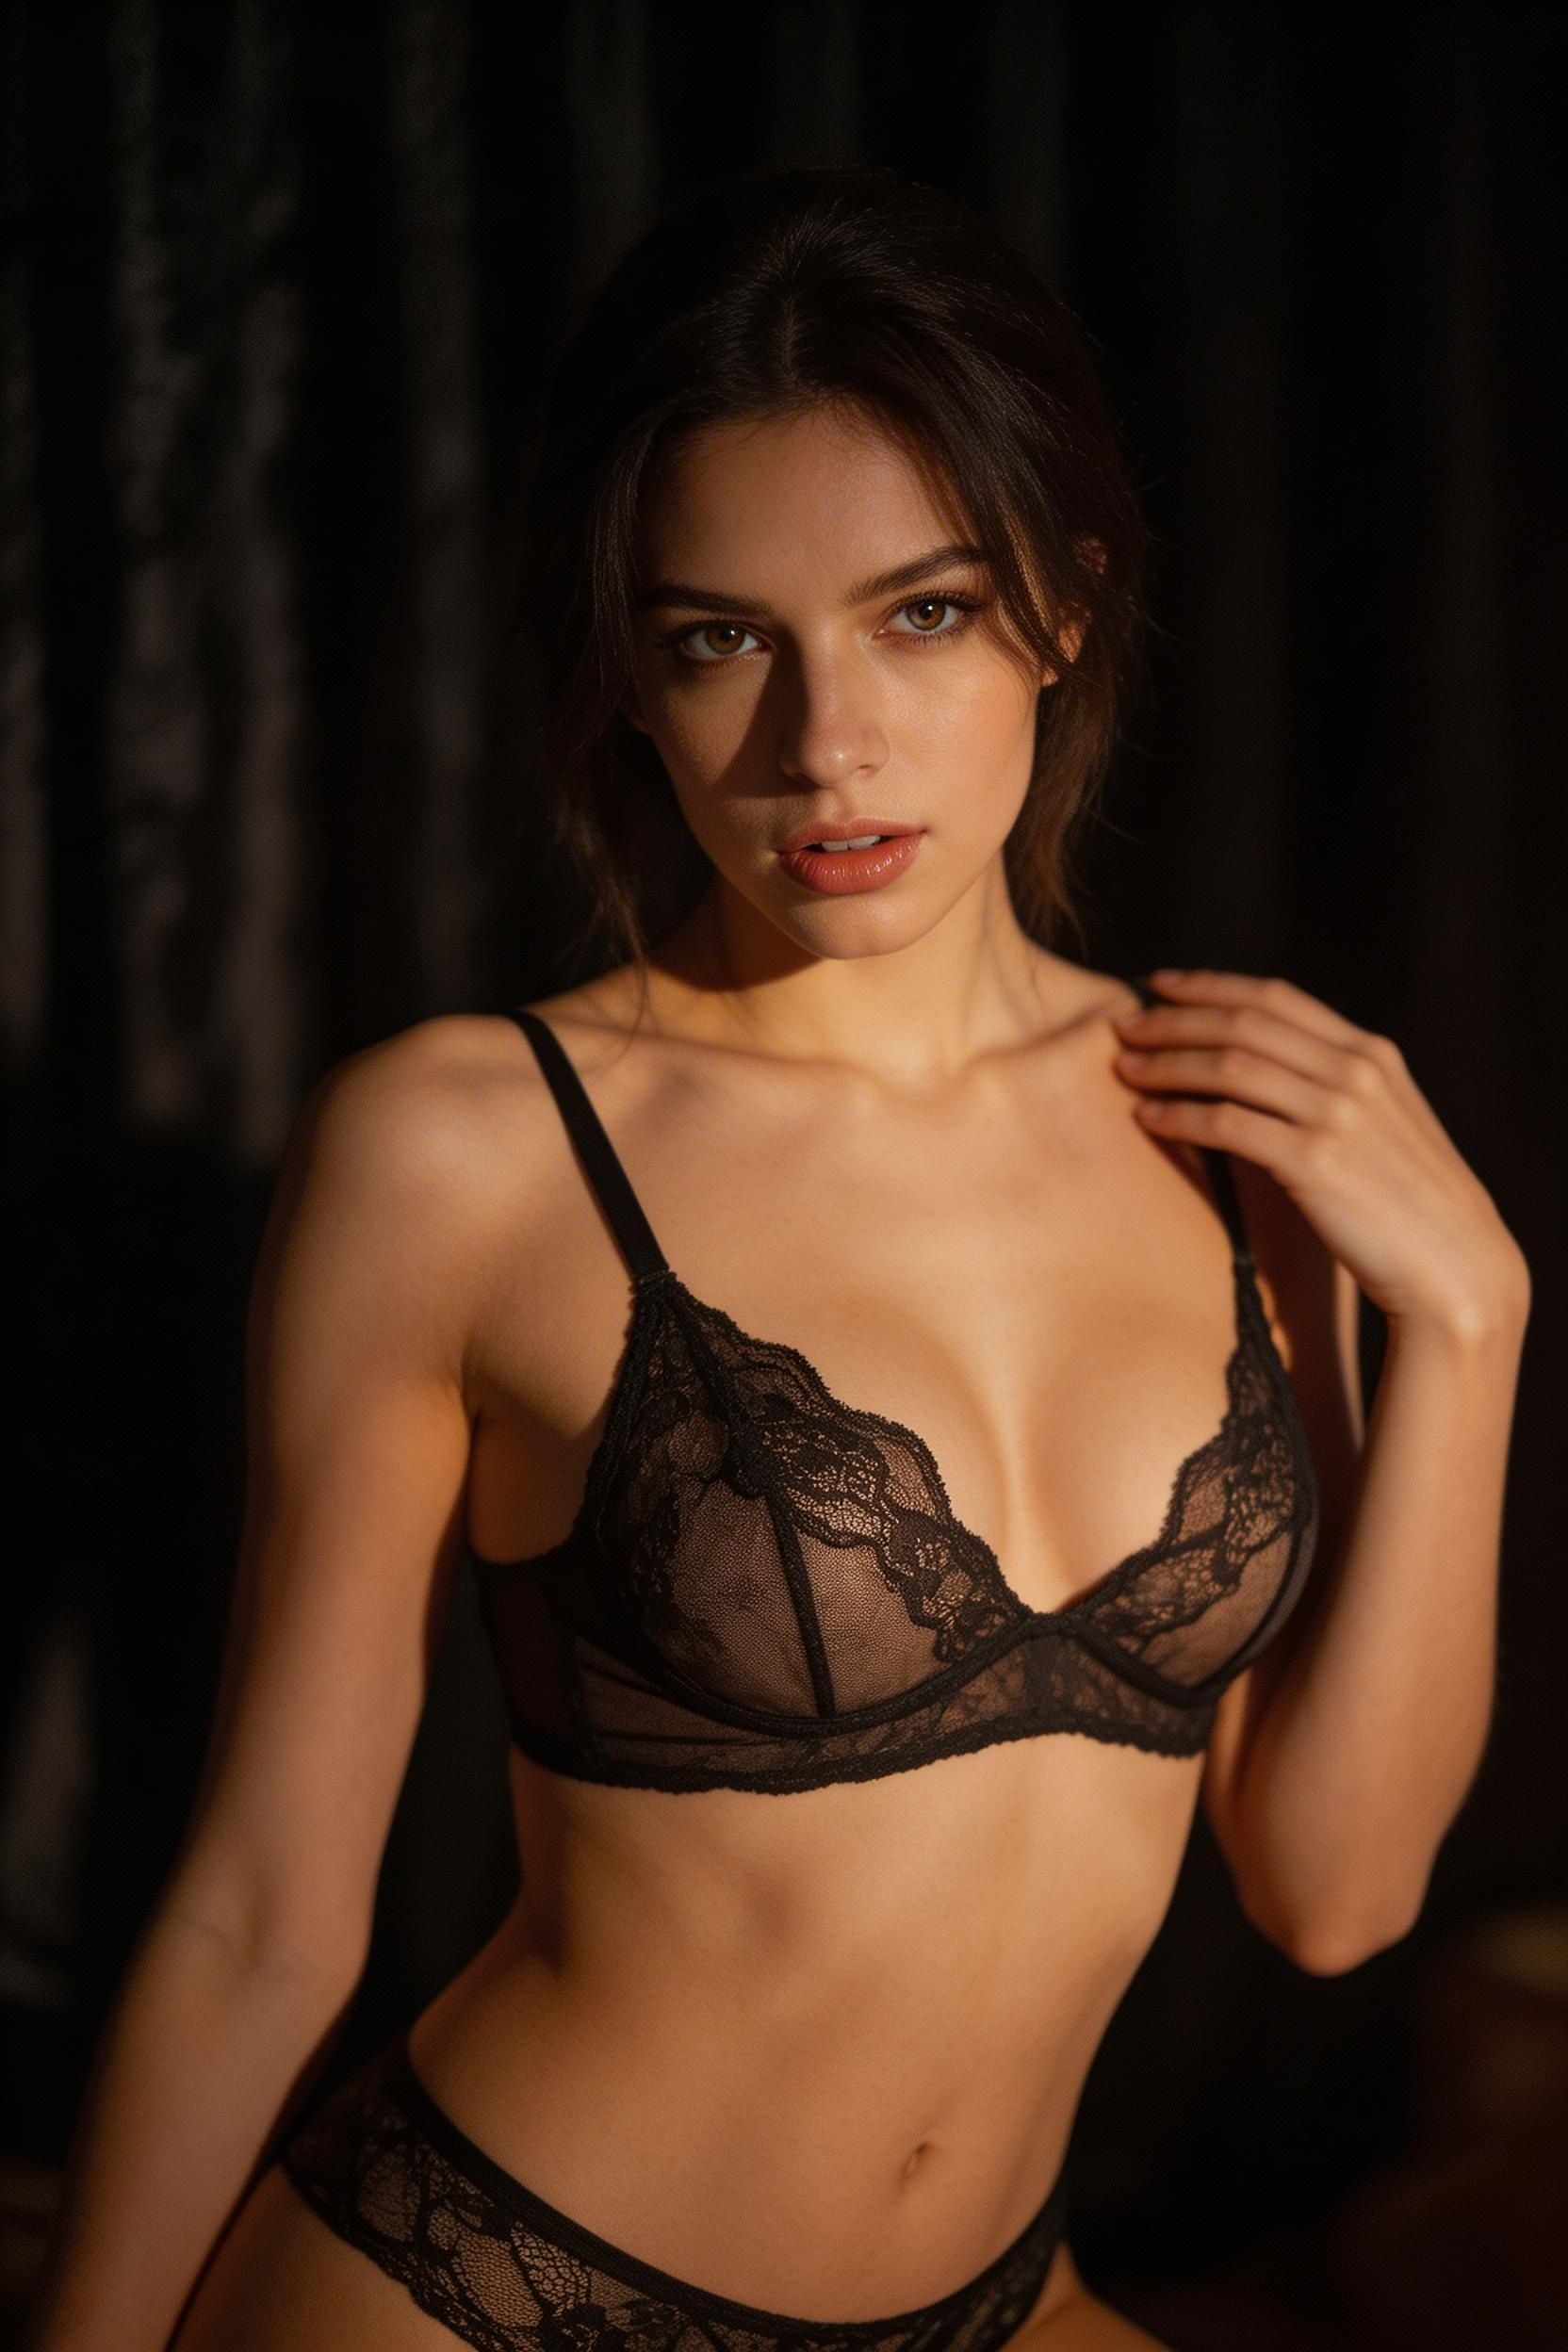
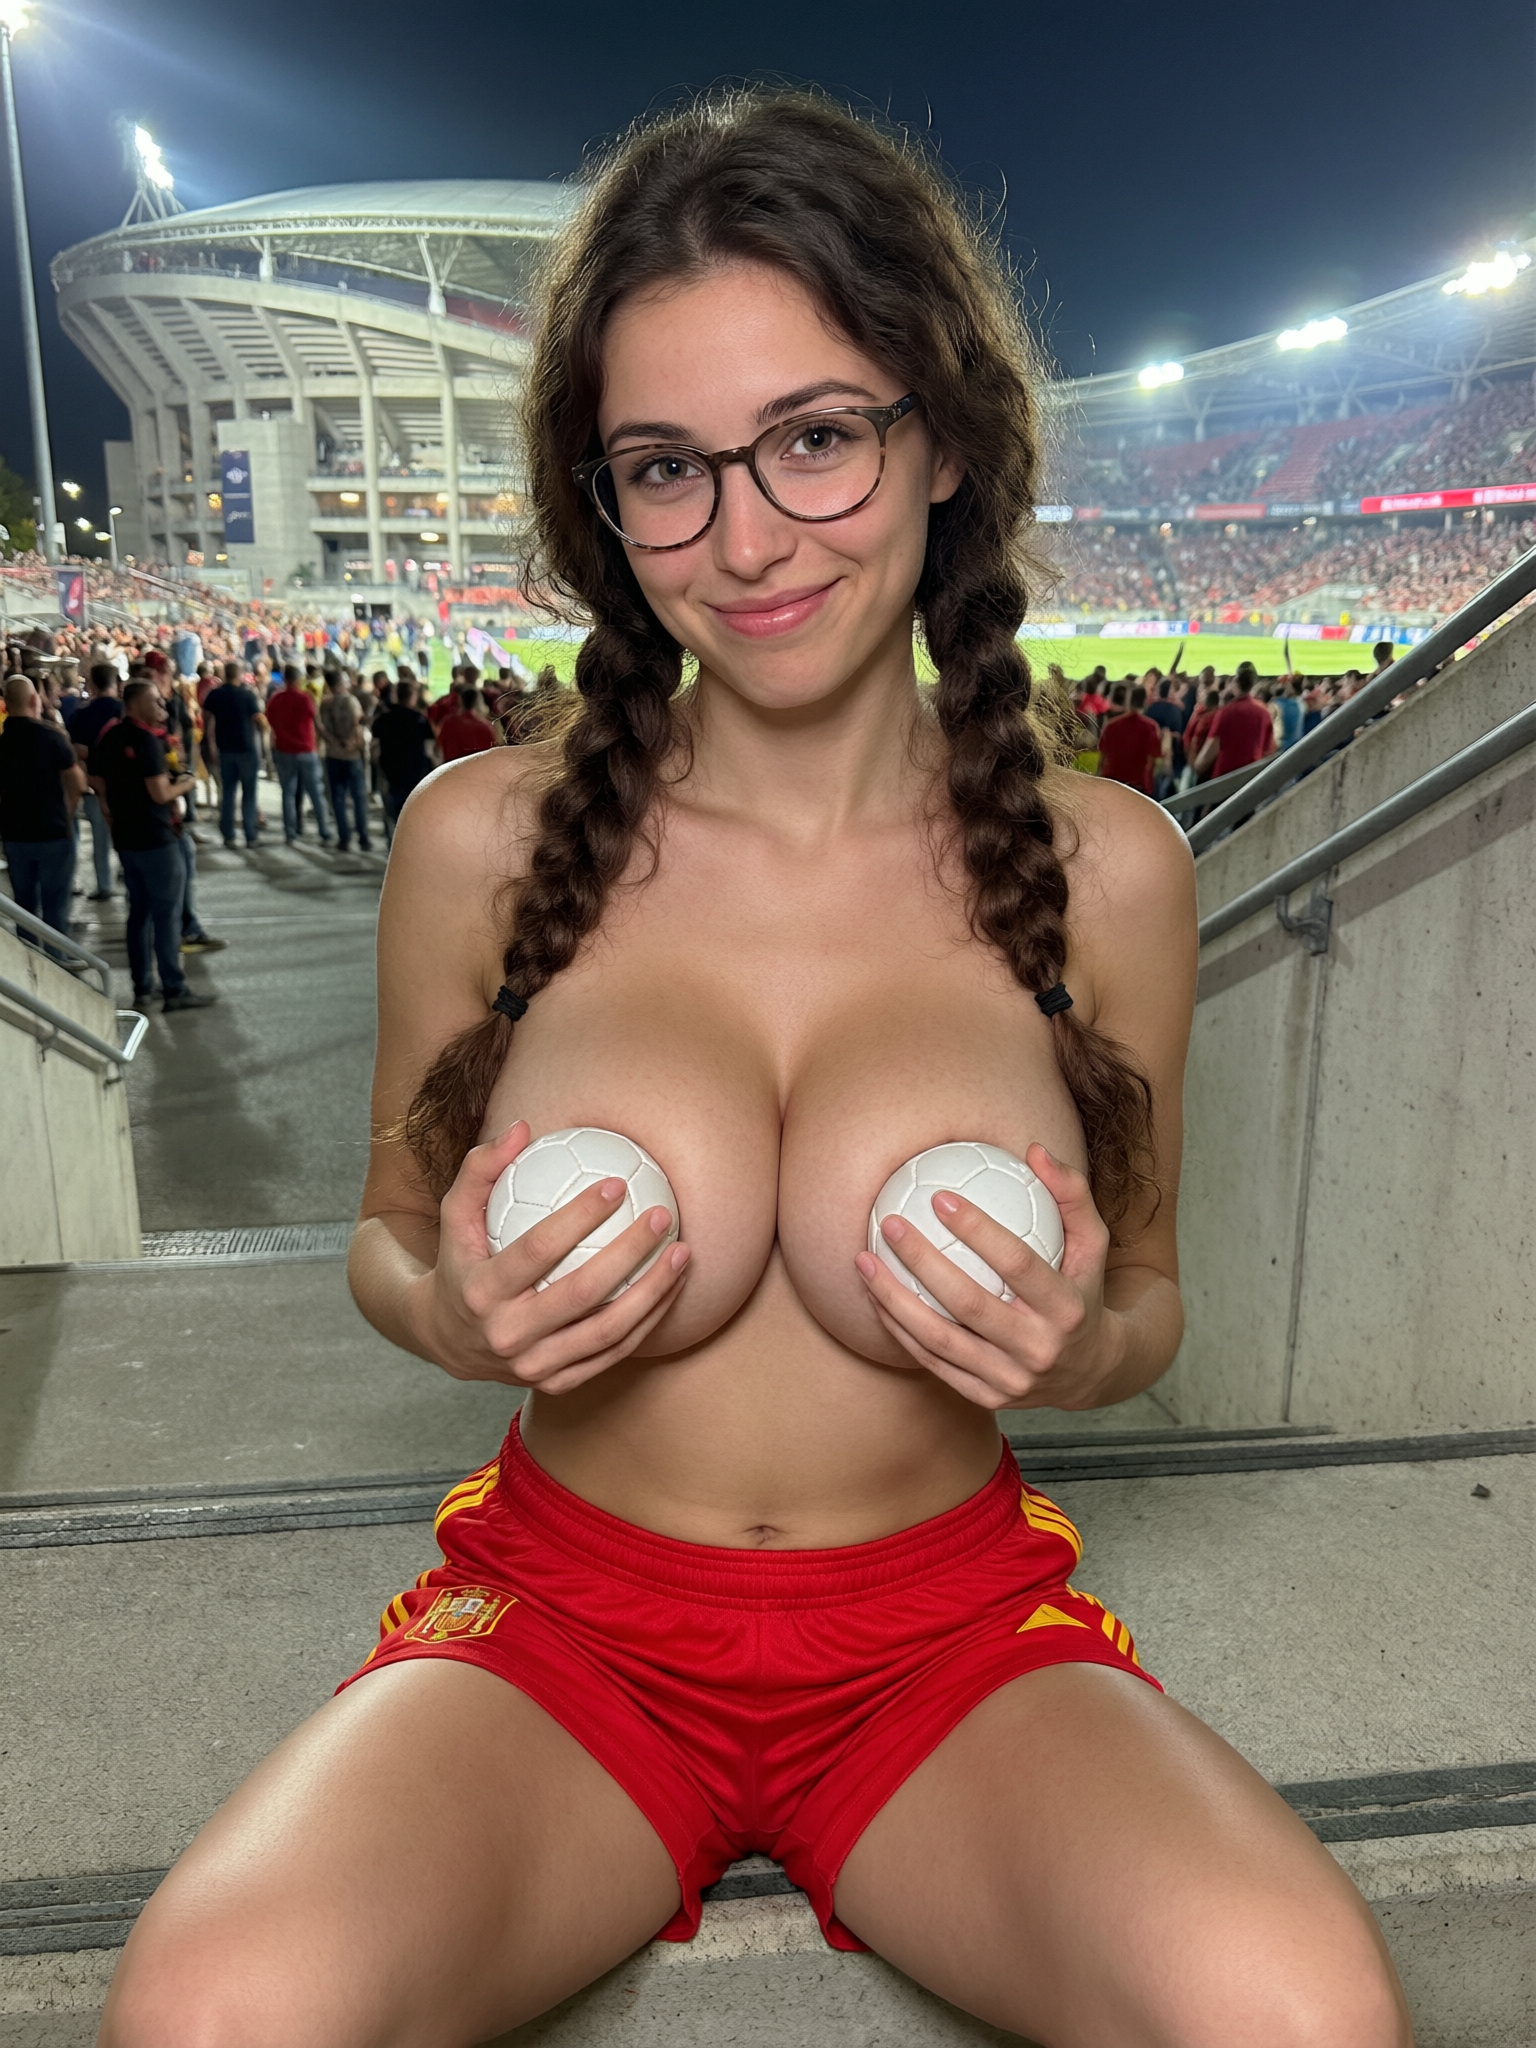
🎬 Results
A look at what Text to Image can produce from a prompt alone.
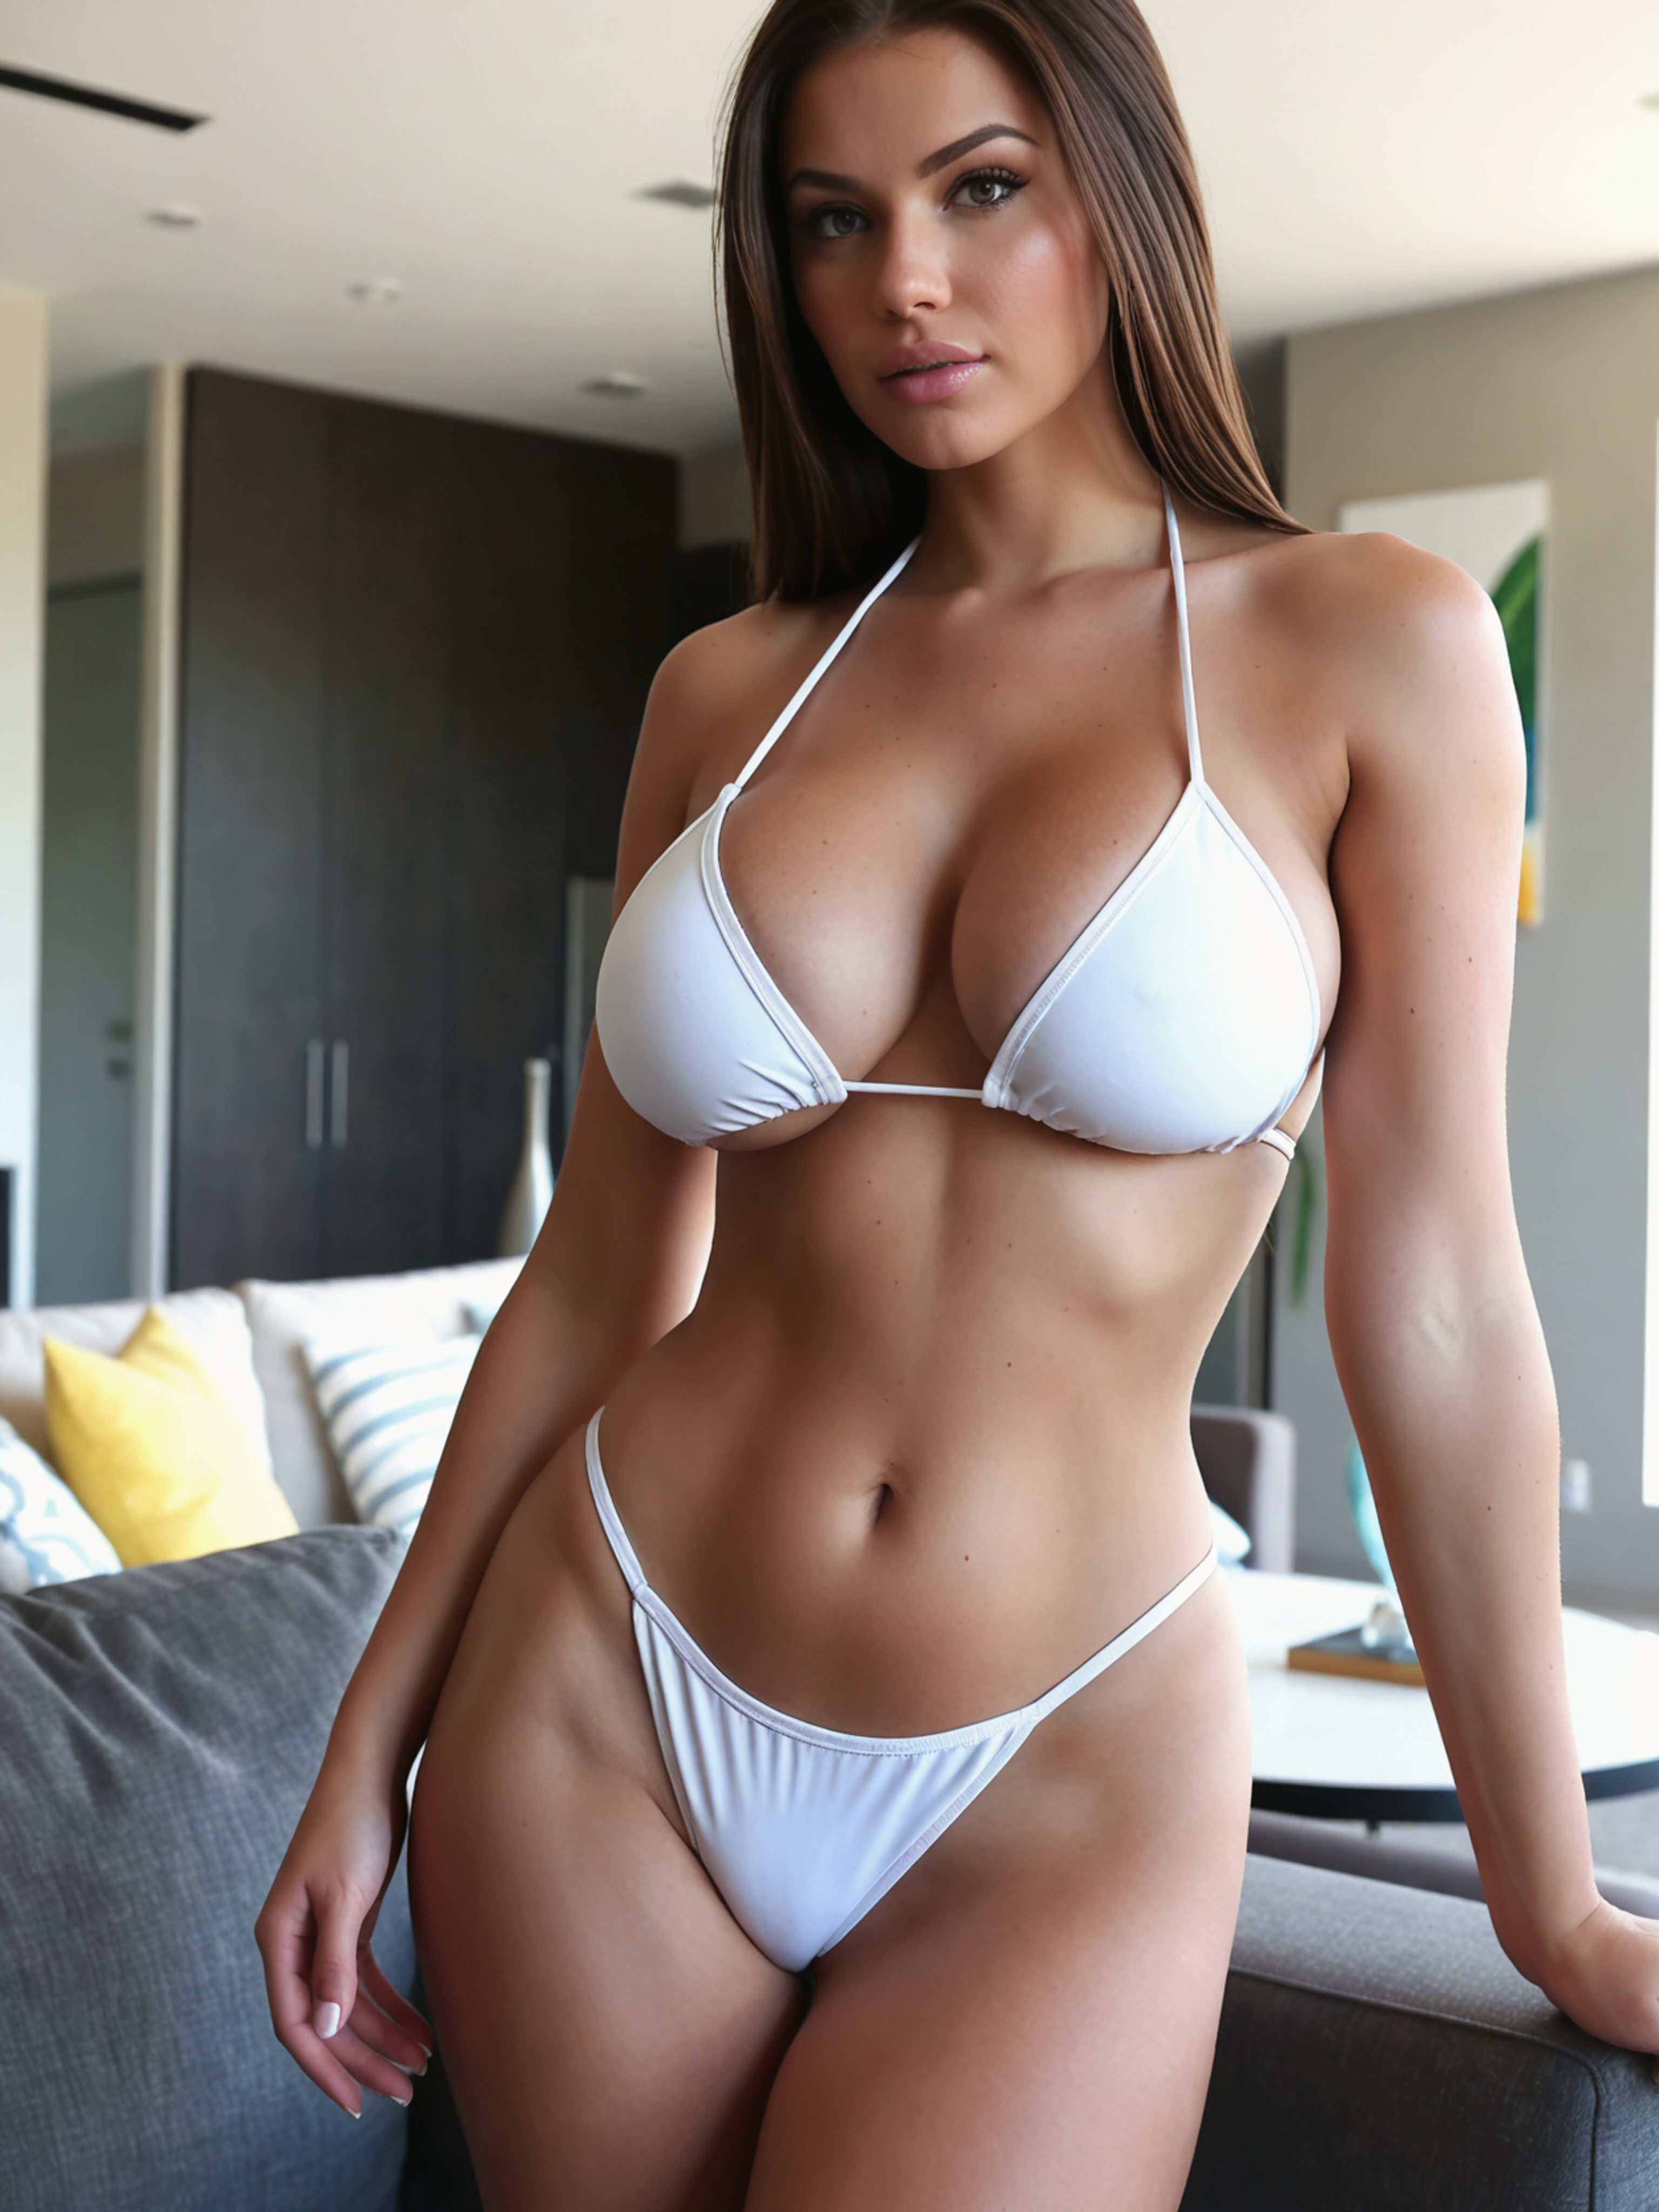
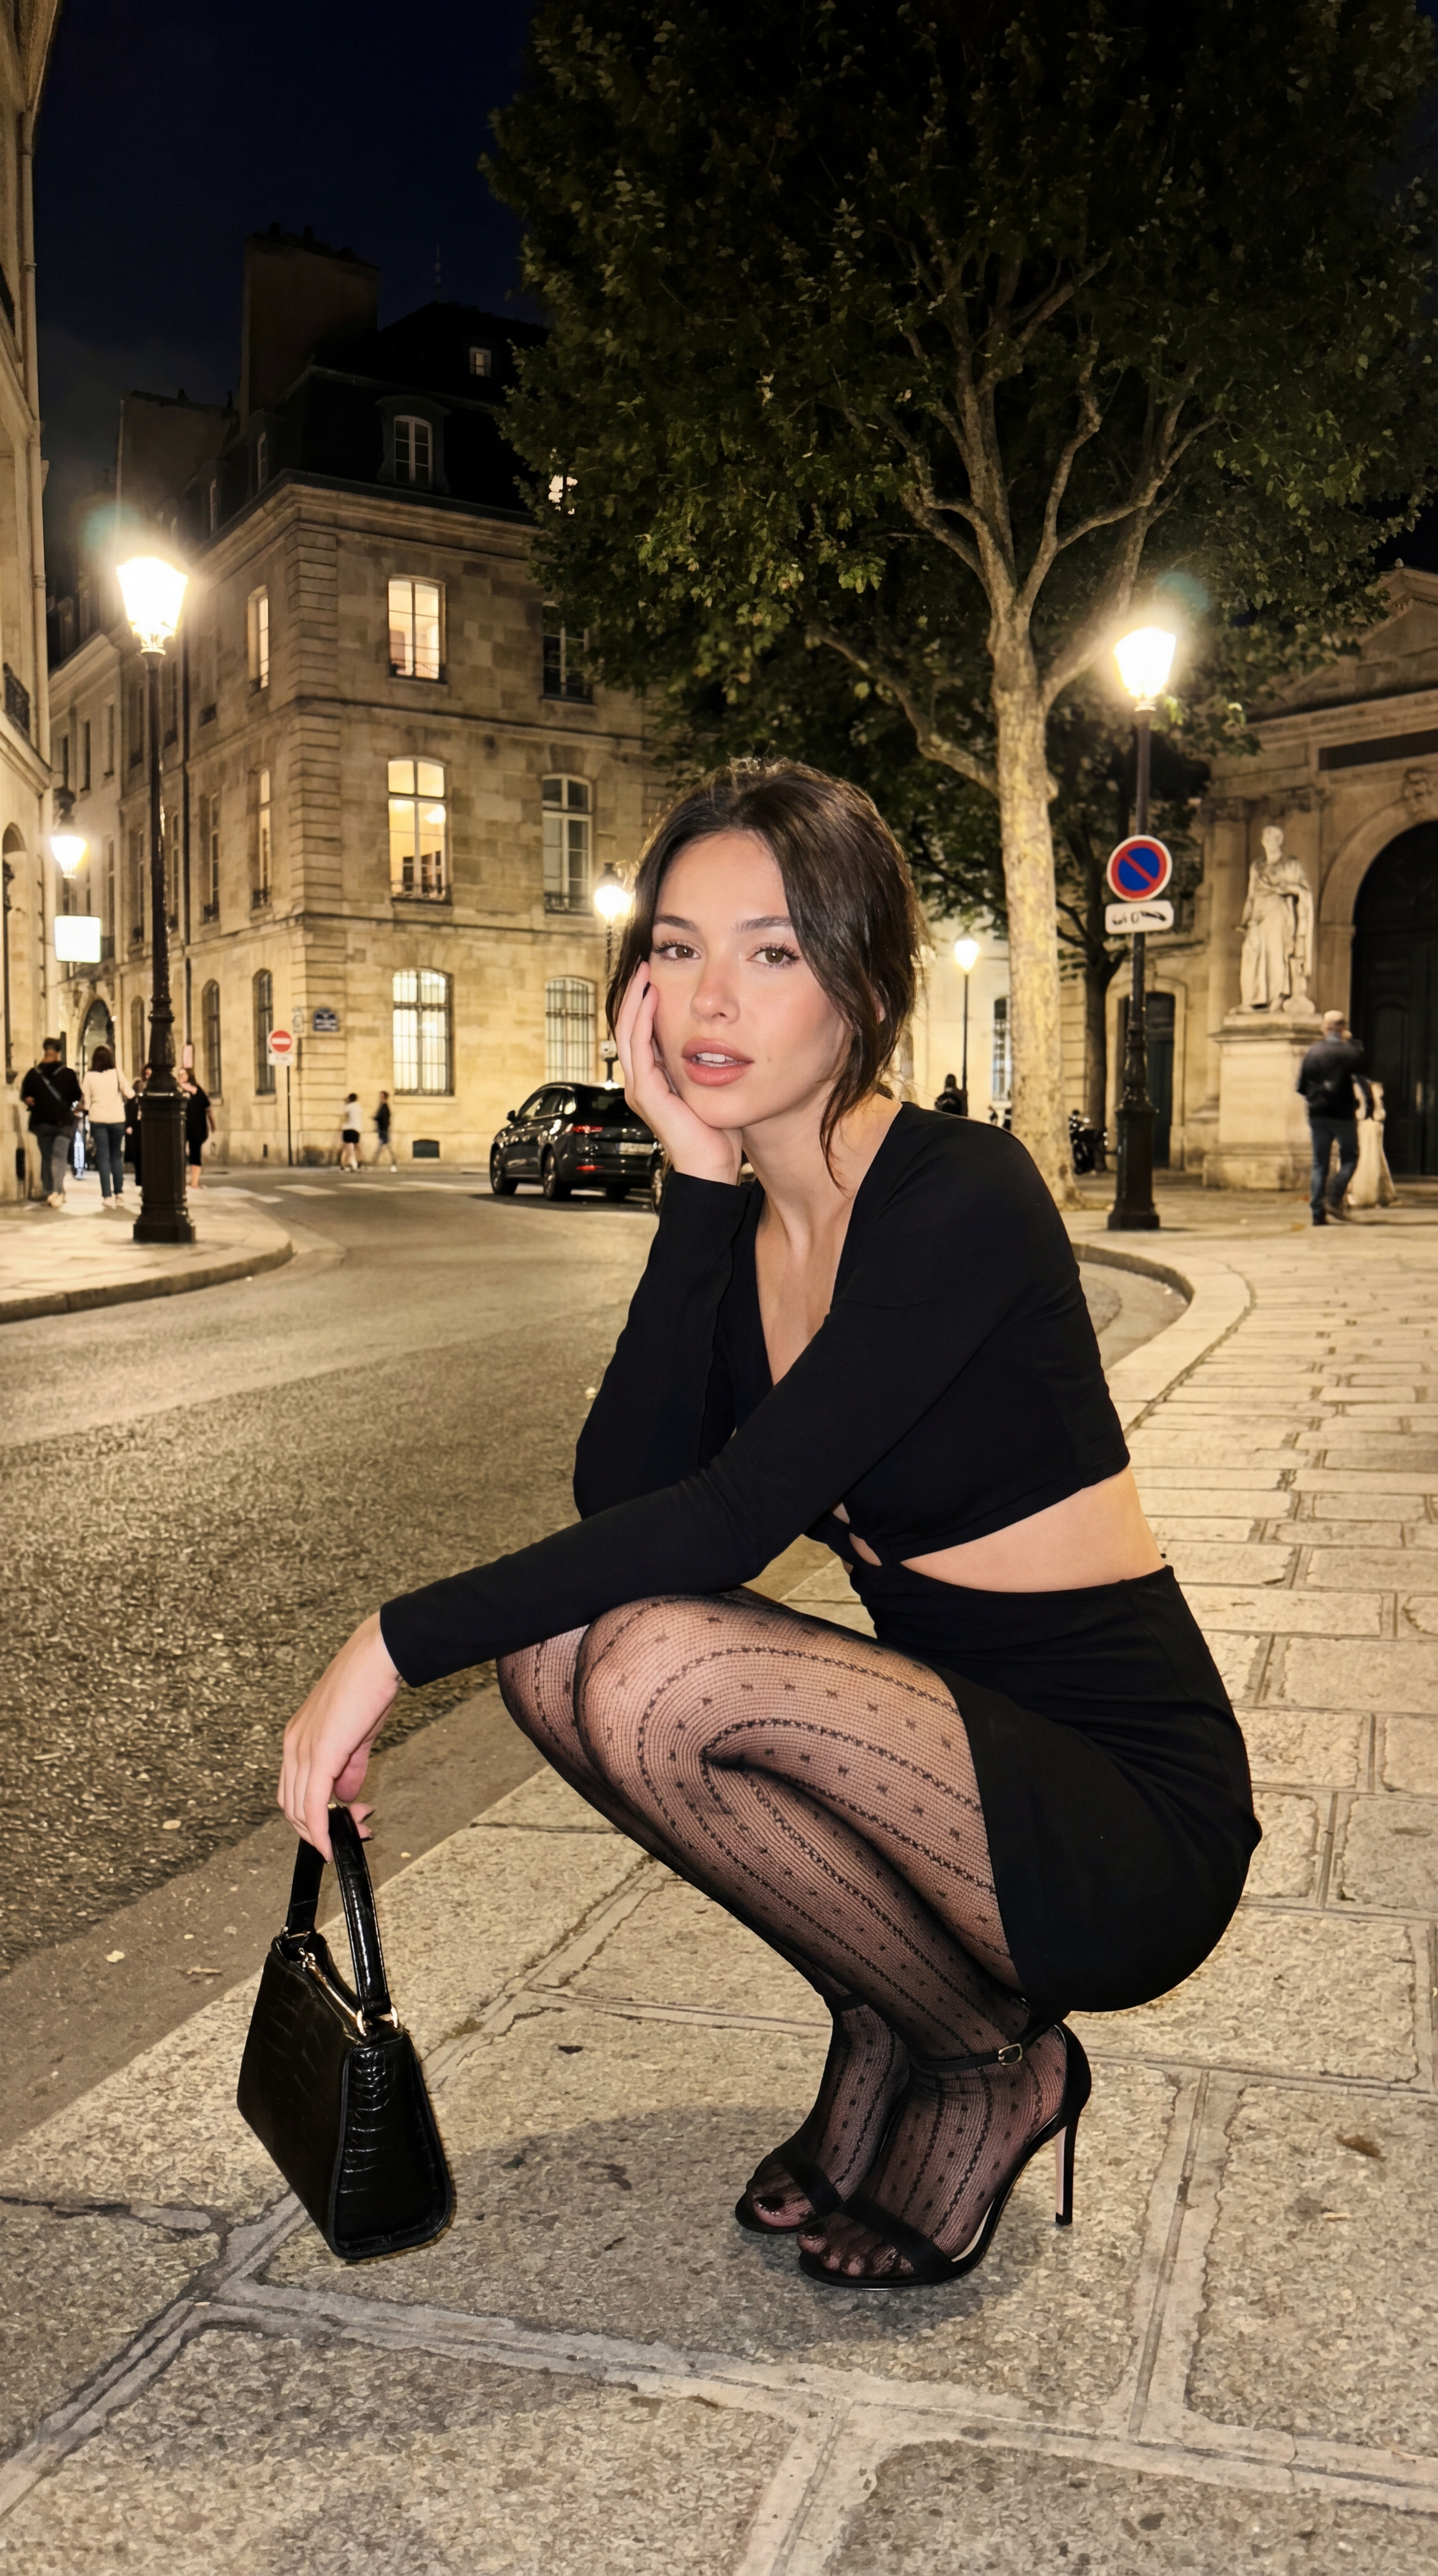
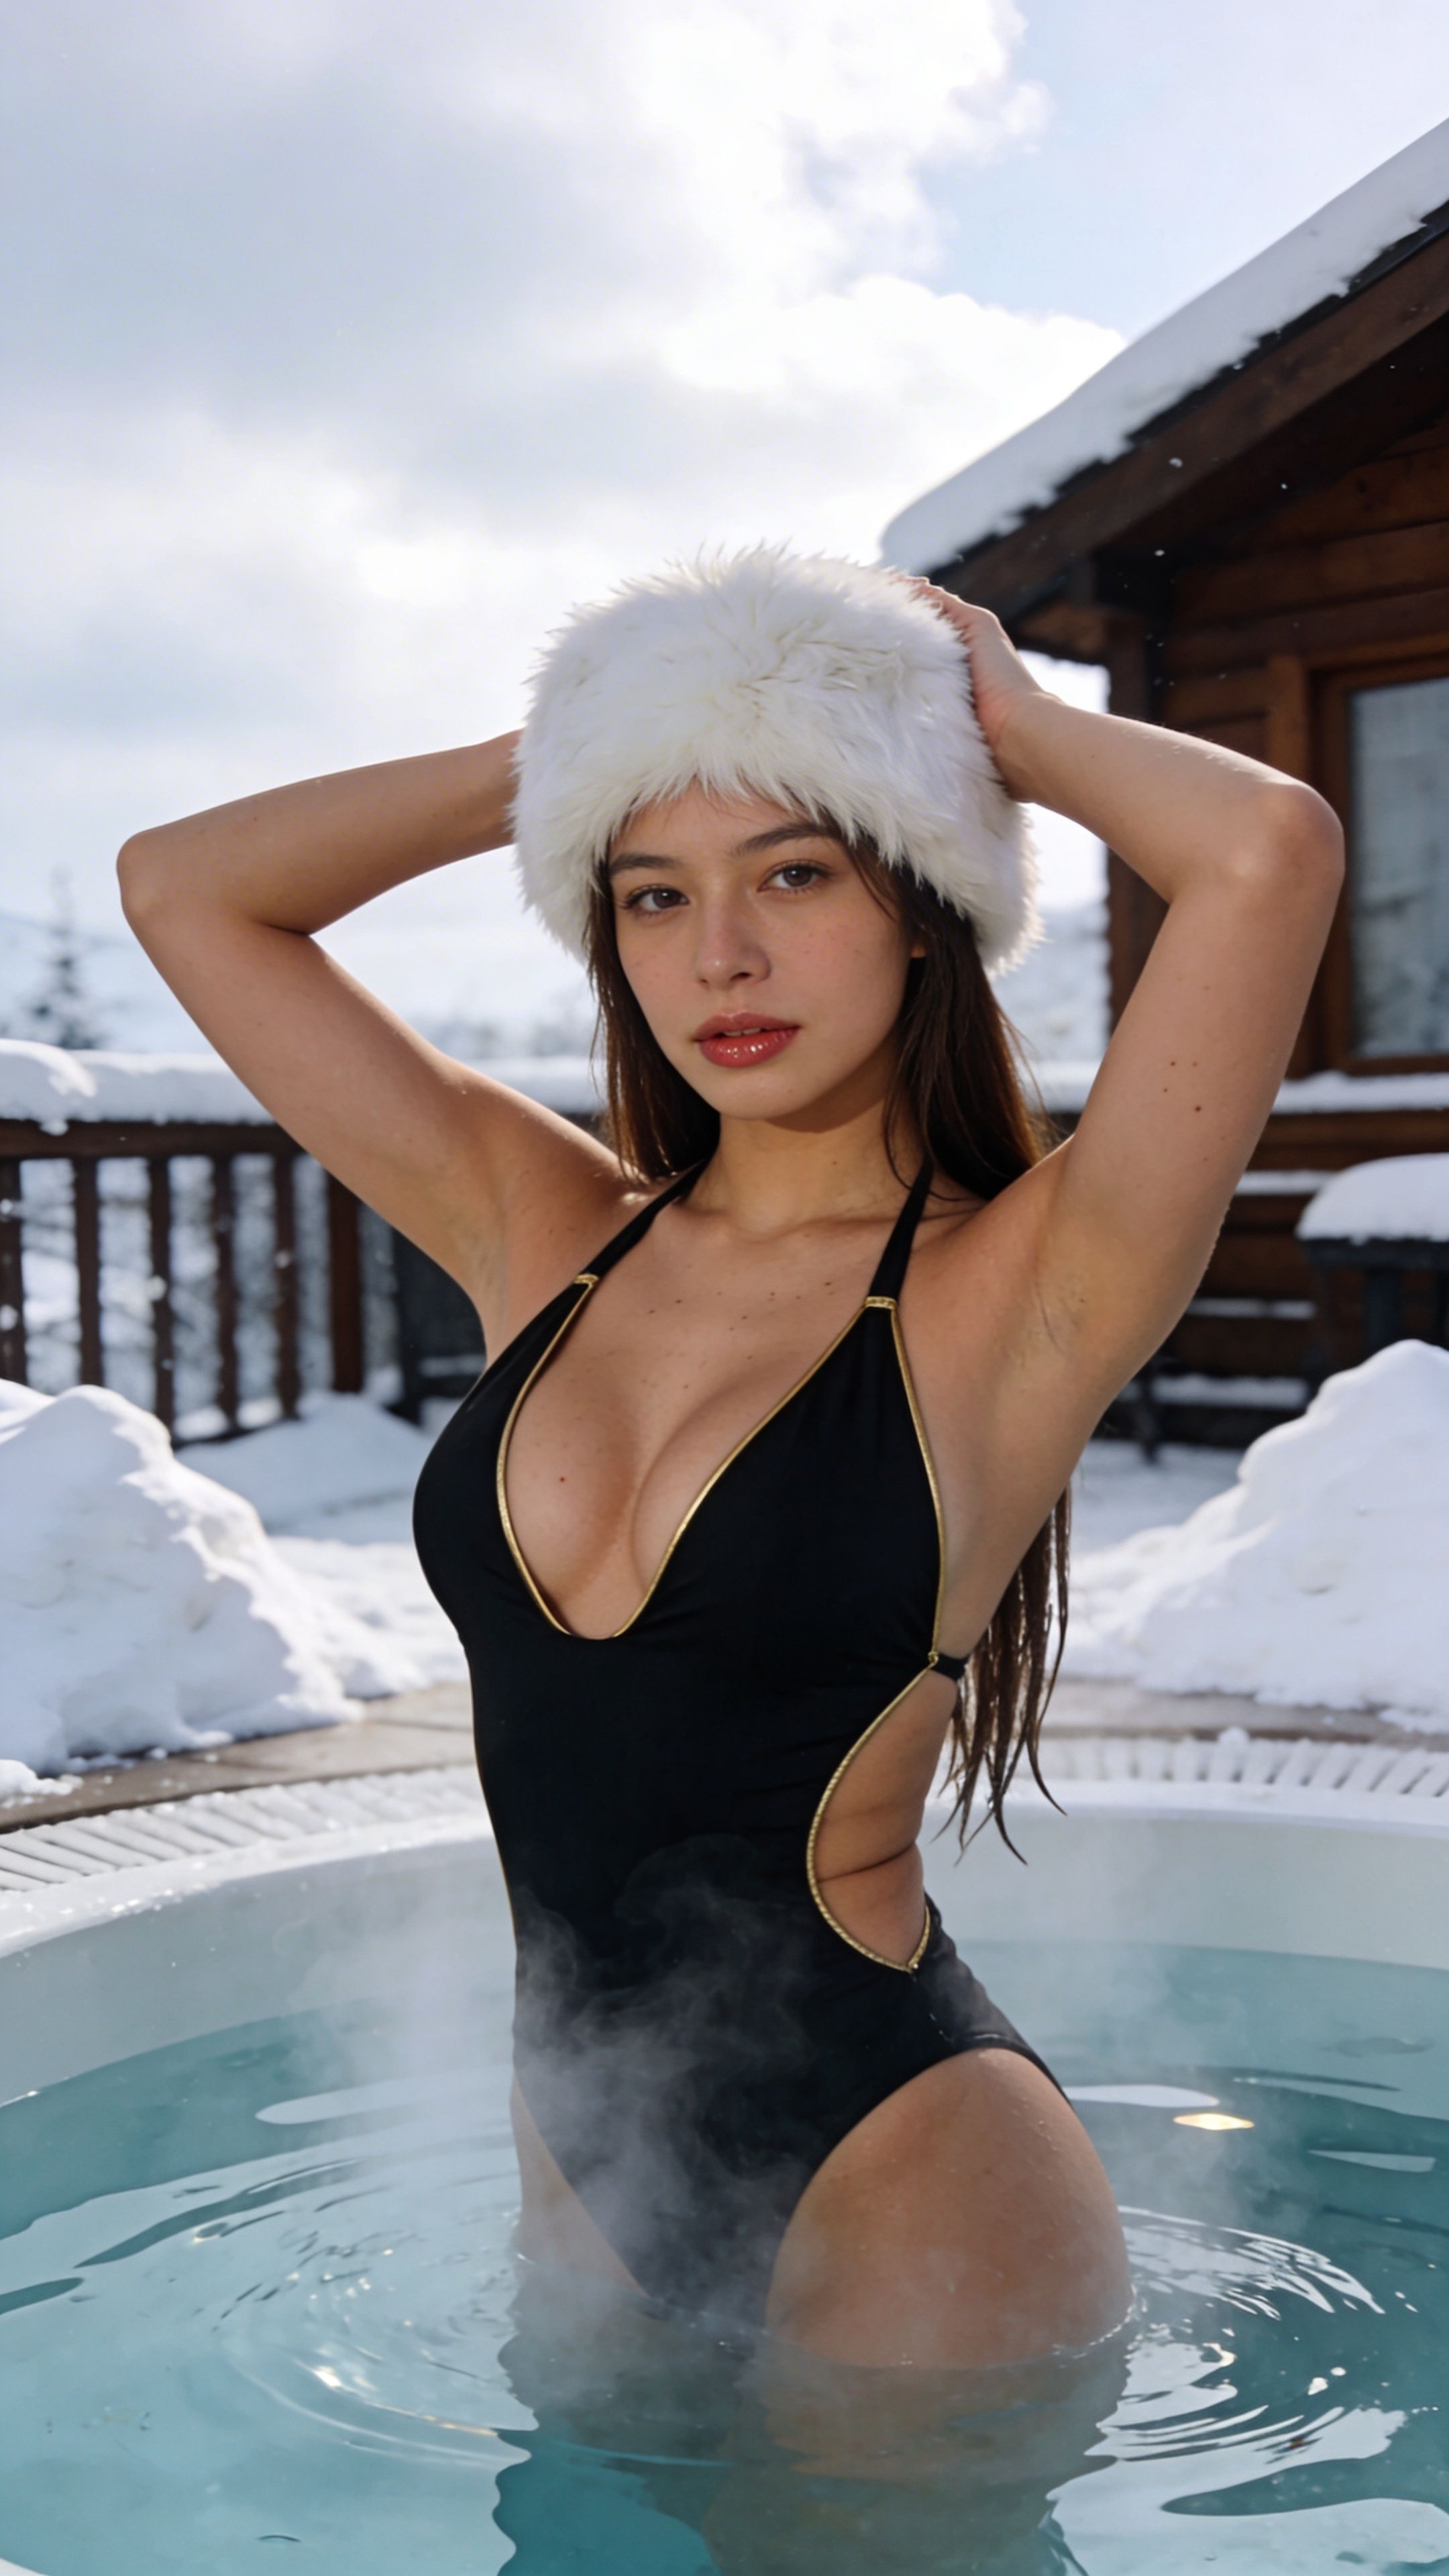
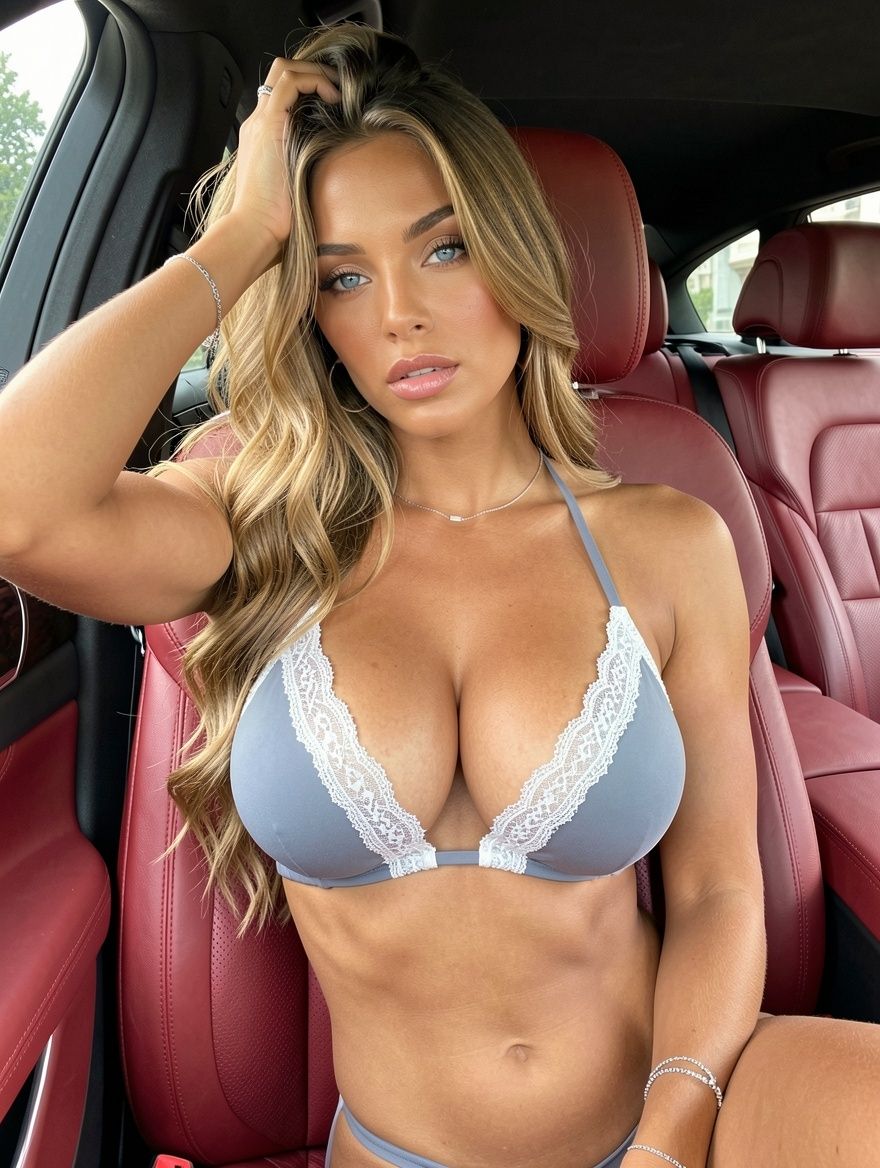
Don't want to set everything up yourself?
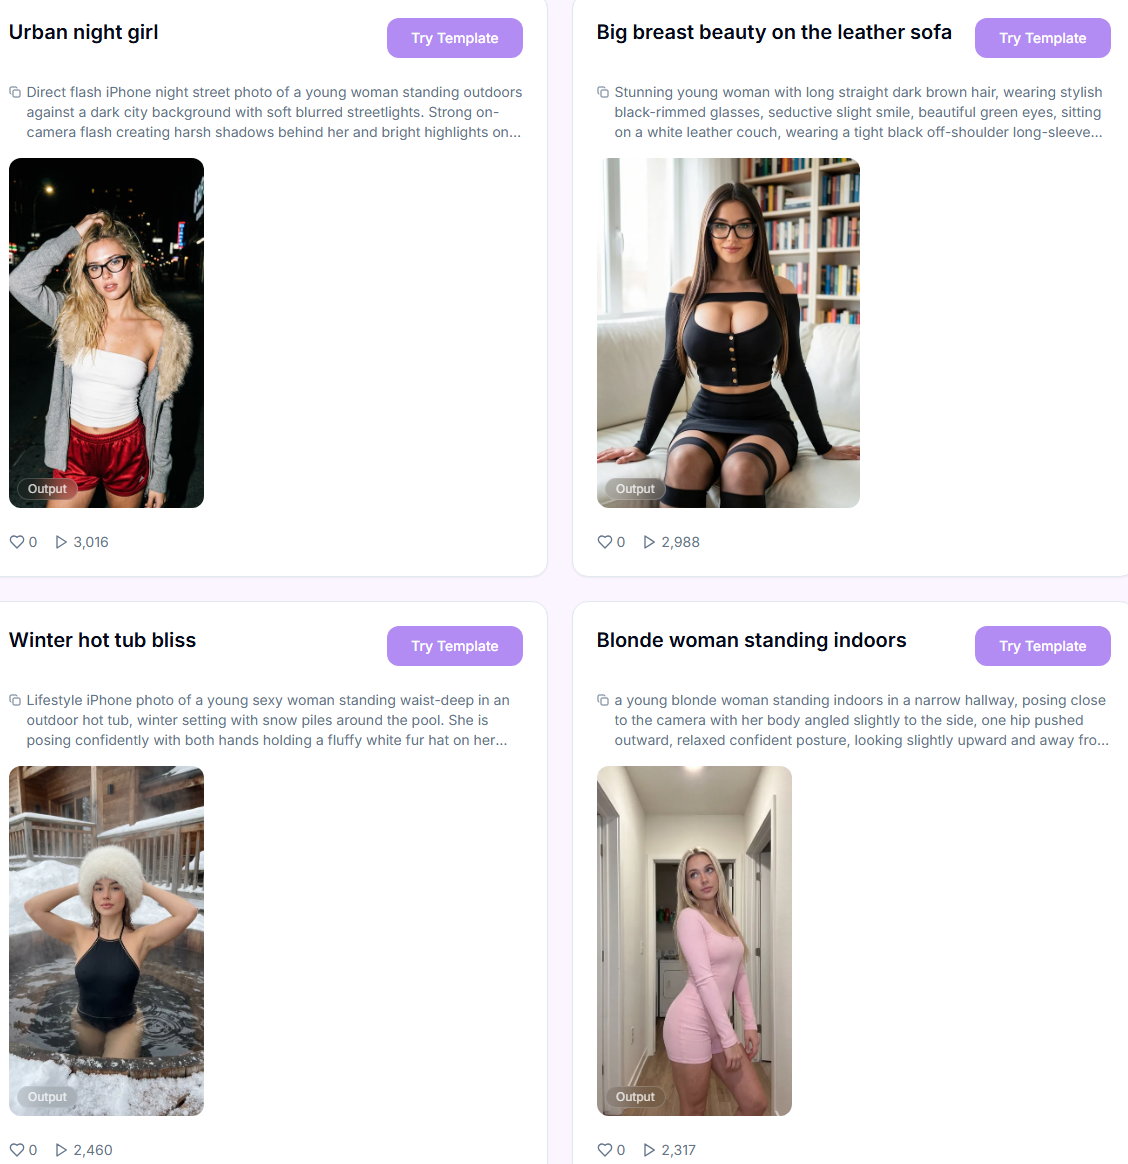
Skip the setup — pick a ready-made style from the Templates library and just add your prompt.
Your step-by-step guide
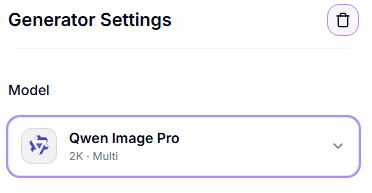
Step 1. Model — select the image generation model from the drop-down list. Tap one below to see what it's best at.
Quick pick:
Fastest and cheapest, just testing an idea → Qwen Image.
Specific pose or detailed scene, uncensored → WAN 2.7 Image.
Cinematic, magazine-style color → Seedream 5 (or Pro for the sharpest version, any resolution/ratio).
LoRA-driven body/shape control → SDXL.
Clean SFW photos ready to animate → Nano Banana 2.
Same face across a character series, highest quality → General.
Realistic nude photos → Flux Klein Spicy.
Sharpest, most detailed nudes (worth the wait) → Qwen Image Pro or WAN 2.7 Pro.
Step 2. Prompt — describe what you want to see in the image. Be specific about the subject, clothing, pose, lighting, camera angle, mood, and environment. Use Magic Prompt to automatically expand a short idea into a detailed prompt — works with every model. Not happy with the result? Click Revert to go back to what you typed.
Step 3. Negative Prompt (optional) — list what the model should avoid (bad anatomy, extra fingers, blur, watermark, text, artifacts). Availability depends on the selected model.
Step 4. Aspect Ratio — choose the desired aspect ratio for the generated images (e.g. 1:1, 3:4, 9:16). This defines the width-to-height ratio of all outputs.
Step 5. Resize (W / H) — manually set the output resolution in pixels. Maximum resolution depends on the selected model (up to 4K).
Step 6. Number of Images — select how many variations to generate in this run (up to 10).
Step 7. LoRA (SDXL only, optional) — apply curated LoRAs to control style or physique. LoRAs are injected automatically; use sparingly to avoid overpowering the base prompt.
Step 8. Start Generation — launches the job. The total credit cost is shown below the button before generation starts.
LoRAs (SDXL)
Attach up to three LoRAs at once and set a Strength per LoRA.
0.1–0.4 = subtle influence
0.5–1.2 = balanced control (recommended)
>1.5 = aggressive; more likely to introduce artefacts
Important: higher strength increases the chance of artefacts. Combine fewer LoRAs at moderate strengths for the cleanest results.
Available LoRAs:
Large Breast & Hourglass — fuller bust with classic hourglass balance.
Adjustable Large Breast — scalable bust emphasis while keeping overall proportions.
Adjustable Large Breast 2 — alternative profile with a different aesthetic bias; useful if v1 conflicts with your scene.
Cameltoe — swimwear/activewear fabric tension at groin area.
Soft Fuller Figure — soft curves and slightly higher body fat distribution.
Thick Thighs & Wide Hips — stronger lower-body emphasis with wider hip line.
Elegant Mature — mature facial features and styling cues.
Body Builder — visibly muscular physique; pronounced definition.
Muscular Body — toned musculature with low-to-moderate body fat.
Classic Hourglass Shape — defined waist with balanced bust/hip ratio.
Slim Figure — slender proportions with minimal body fat.
Soft Tummy & Curves — visible belly softness and gentle curves.
Plus Size Body — plus-size proportions across torso and limbs.
See our LoRA usage guide for examples and best practices.
Actioning results
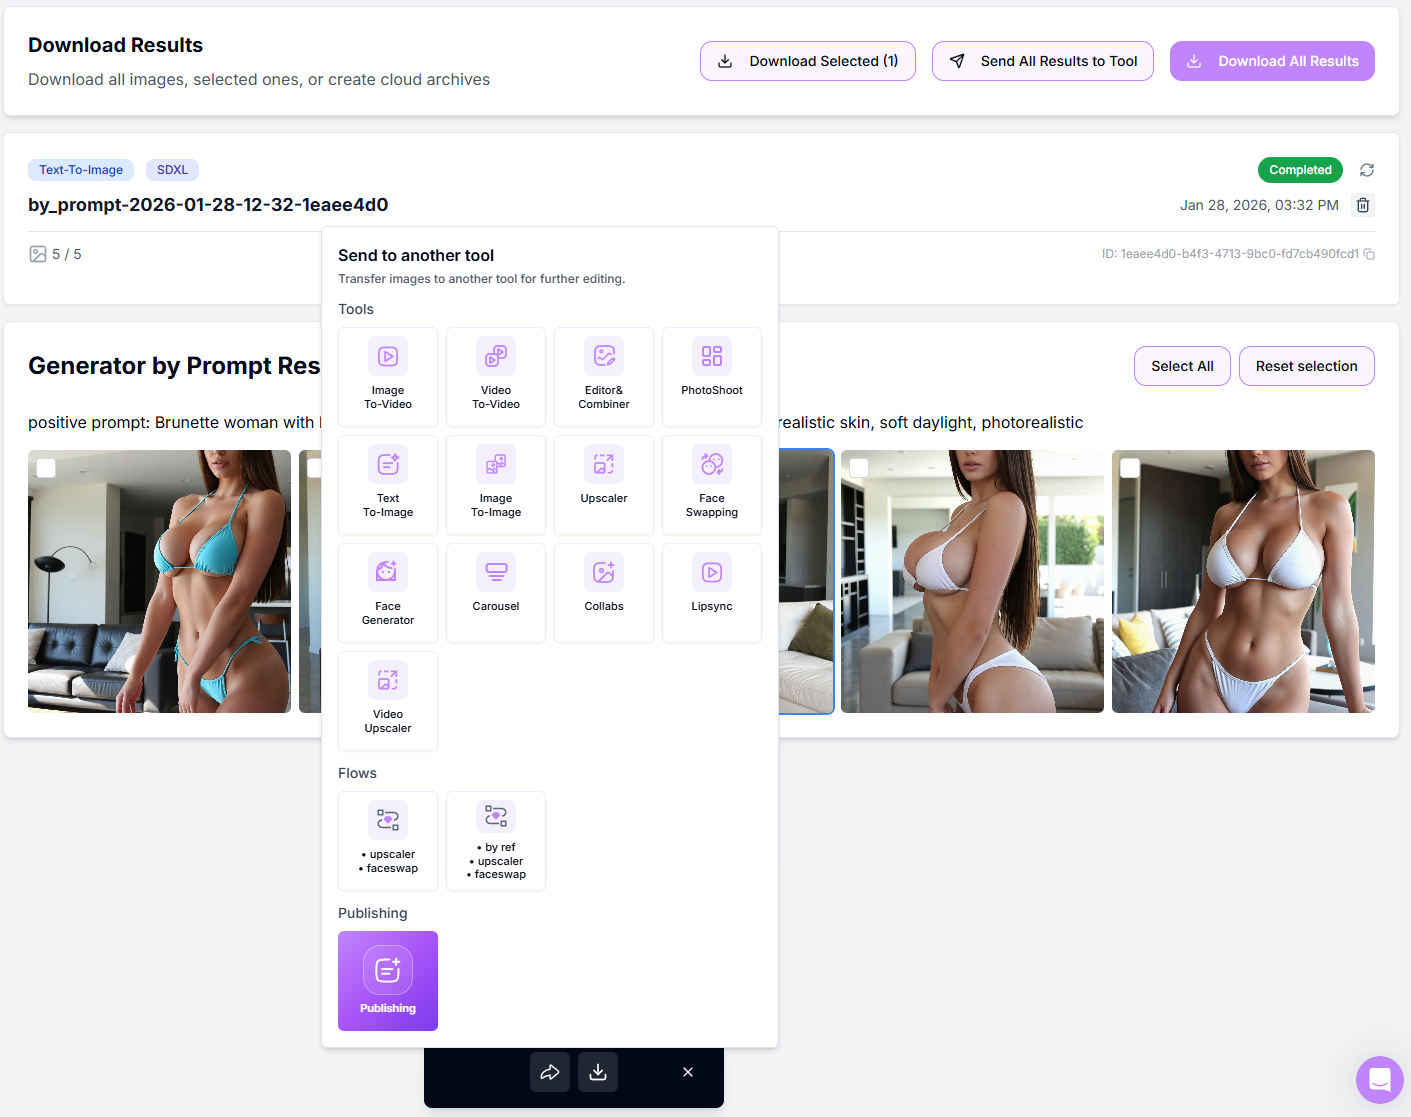
Use the checkboxes on thumbnails to Select/Deselect.
Download Selected / Download All to export a ZIP.
Send to another tool to continue the pipeline (Image Upscaler, Head & Face Swap, Reference-To-Image, Image to Video, Variations).
Retry Failed appears automatically if any frames mis-rendered.
Prompting tips (copy-paste friendly)
Portrait: "35mm portrait of [subject], half-body, eye contact, soft window light, shallow depth of field, natural skin, neutral color grade, realistic texture, high detail" — Negative: "lowres, over-smooth skin, bad anatomy, extra fingers, watermark"
Lifestyle: "[subject] walking in [location], candid pose, golden hour backlight, film look, natural grain, realistic proportions, composition rule of thirds" — Negative: "cartoonish, plastic skin, lens distortion, duplicate face"
Fashion: "[subject] studio fashion shot, 3/4 pose, key light + rim, clean backdrop, editorial style, crisp shadows, high-end retouch look" — Negative: "blown highlights, muddy blacks, JPEG artefacts"
See a full guide: How to create a good prompt.
Pro tips
With multiple LoRAs (SDXL), keep each between 0.5–0.9; push above 1.2 only if you need a very strong effect.
Keep prompts visual and concise — describe what you see, not how the model should work.
If results look soft at higher resolution, send selected images to Image Upscaler as a final step.
If facial identity isn't stable enough, route selected images to Head & Face Swap after generation to lock the face.
Start with 2–4 images, approve the look, then increase the number of images for production runs.
Avoid mixing extreme styles and heavy LoRAs in one run — consistency drops quickly.
Troubleshooting
You're working with AI — occasional mistakes or artifacts are normal, and a 100% correct result isn't guaranteed.
Anatomy or clothing distortions → simplify the prompt, try a different model, or, if you're using SDXL with LoRAs, lower LoRA strengths (e.g., from 1.2 to 0.7).
If something didn't work as expected, contact us in the support chat in the app, or email support@zencreator.com.
FAQ
What's next
Image Upscaler — sharpen and enlarge your result
Head & Face Swap — lock in a consistent face
Reference-To-Image — build variations from this result
Image to Video — animate the final image