Image Editor
The Image Editor allows you to edit and transform images using reference inputs, models, and optional prompts. It supports both combined editing and batch processing workflows.
Written By Arina
Last updated 26 days ago
What it does
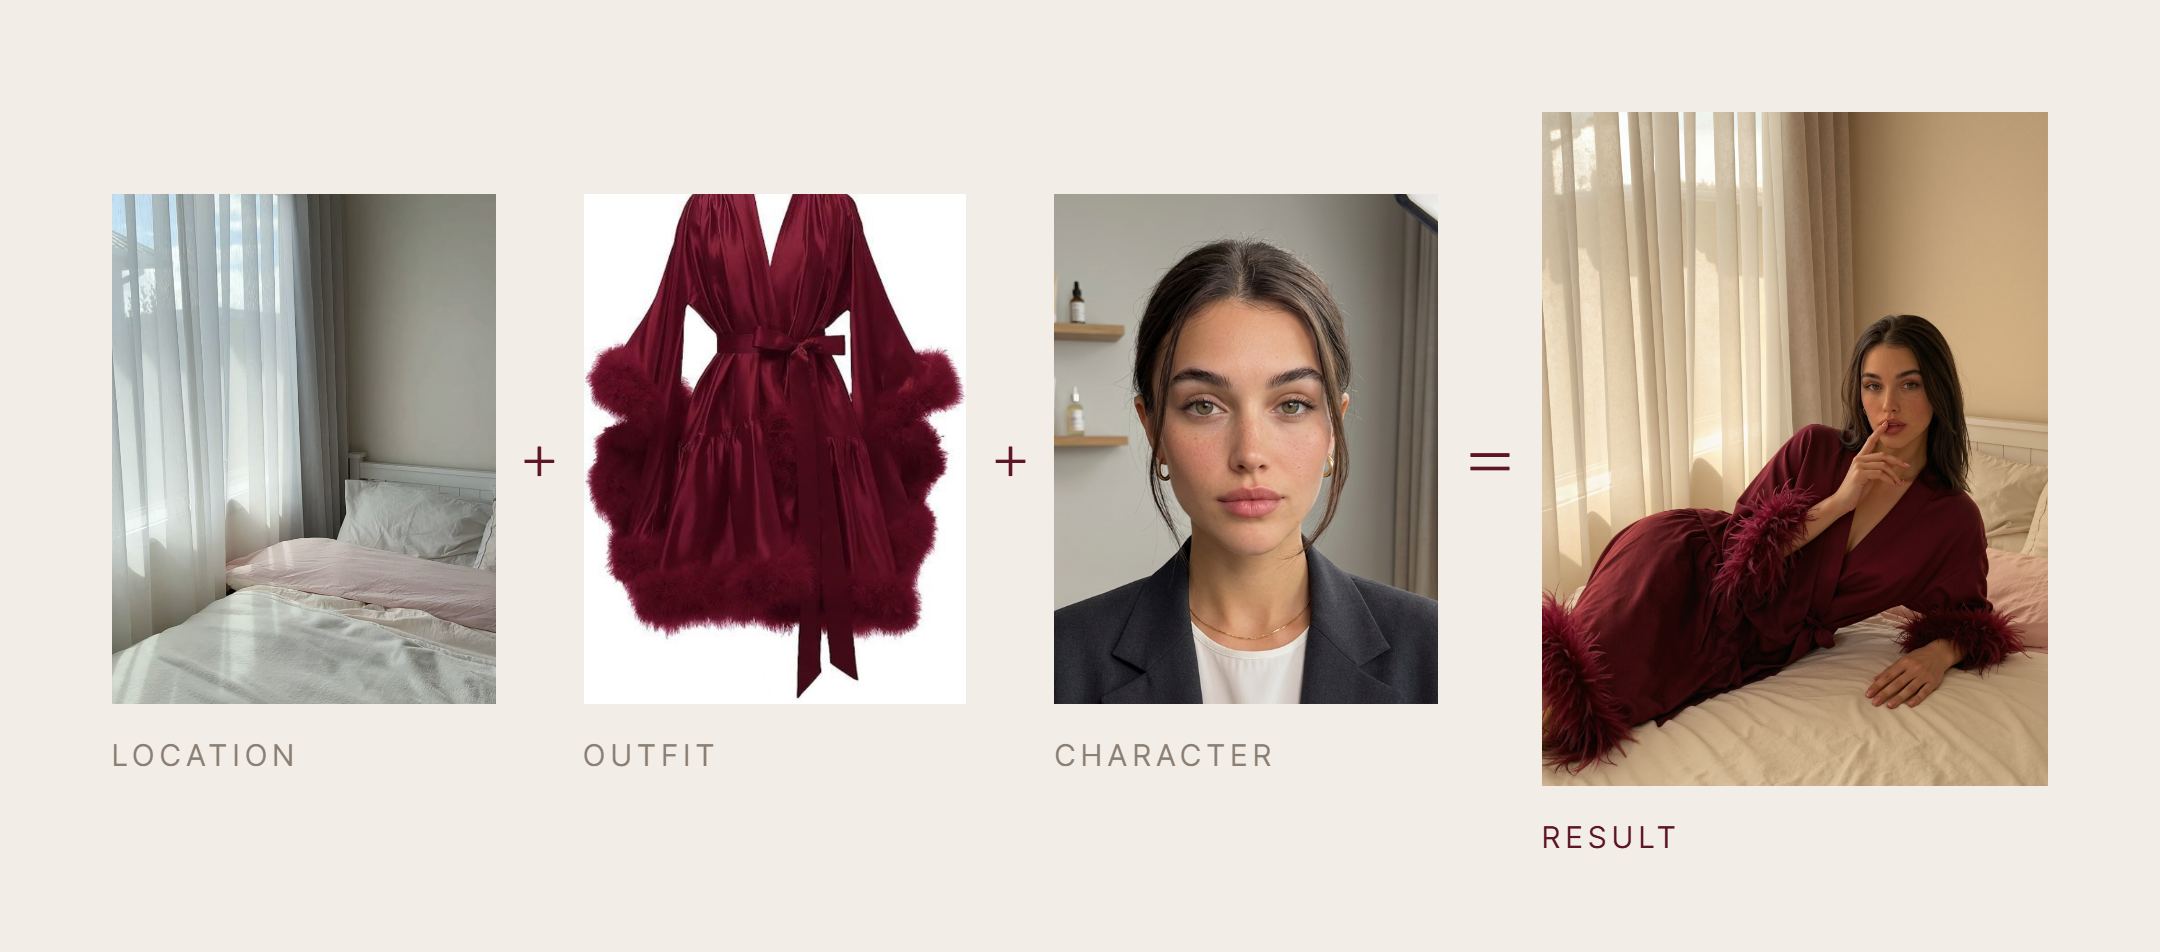
Image Editor edits and transforms your images using reference uploads, an AI model, and an optional prompt — no design skills needed. For example, you can:
change a person's pose or outfit
combine two or more people into one photo
change the location or background
apply a consistent style across a whole set of images
batch-edit many images the same way at once
Results
A look at what Image Editor can produce from your references.
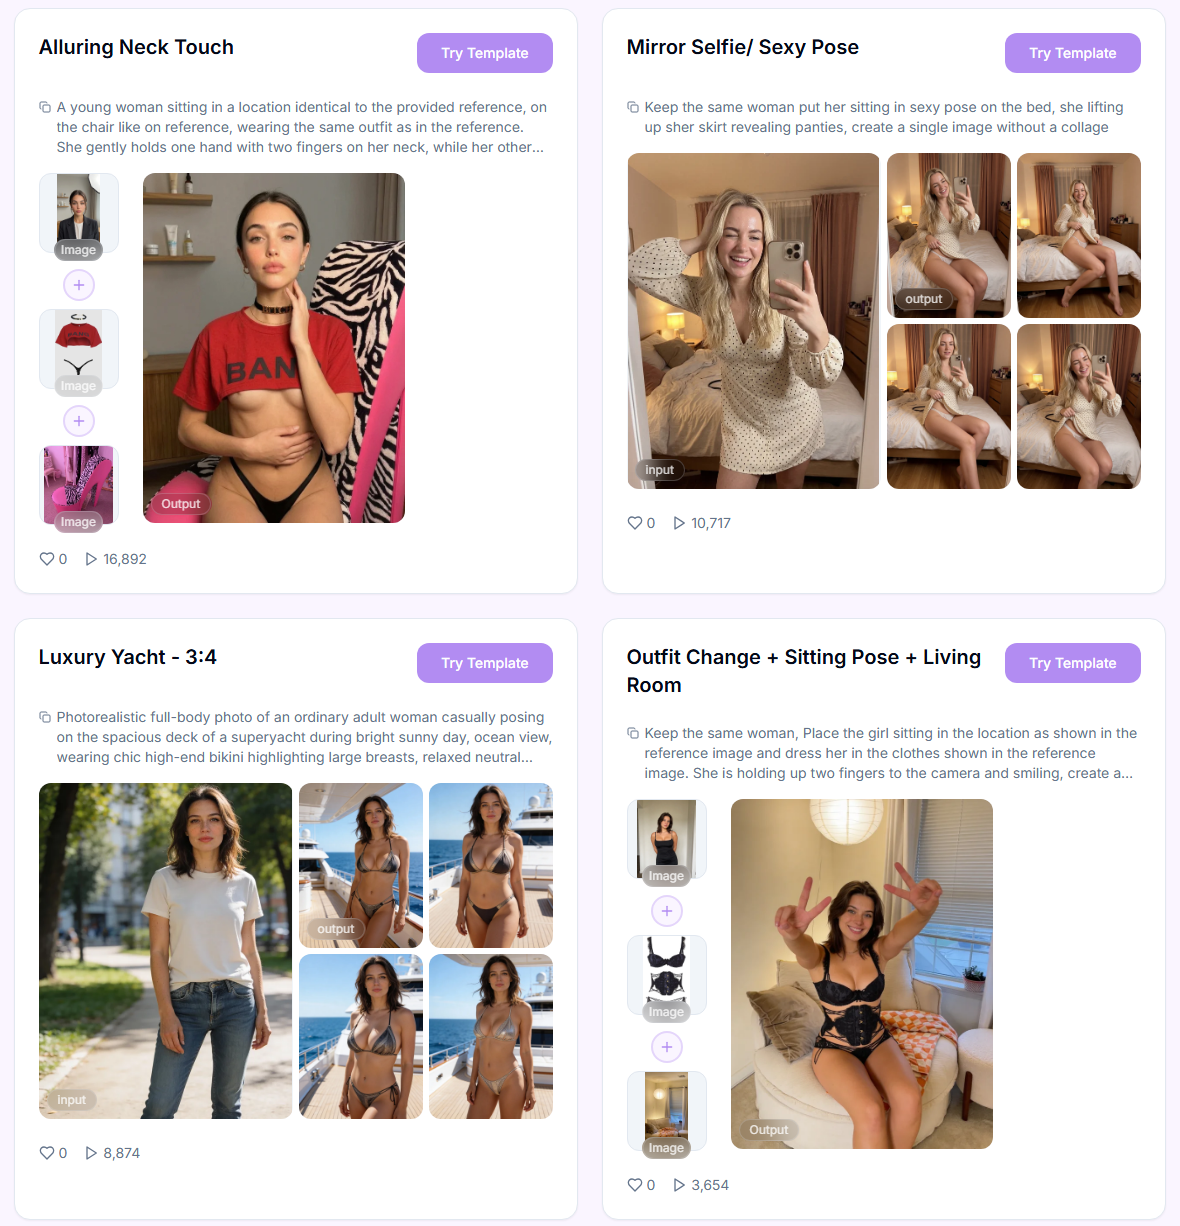
Don't want to set everything up yourself?
Skip the setup — pick a ready-made style from the Templates library and drop in your reference.
Your step-by-step guide
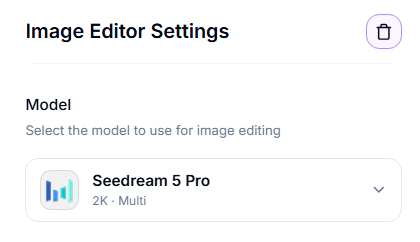
Step 1. Model — choose which of the 10 models edits your images from the drop-down list. Tap one below to see what it's best at and how to tune it.
Quick pick:
Most realistic SFW results → Nano Banana 2.
Explicit NSFW from scratch, not already in the reference → Flux Klein Spicy.
General NSFW edits (outfit, pose) → General (default) or Flux Klein Spicy.
A specific LoRA style, including clothing-removal presets → Flux Klein LoRA.
Highest fidelity, most careful composition → WAN 2.7 Pro, Qwen Image Pro, or Seedream 5.
Combining up to 10 references in one edit → Seedream 5 Pro.
Not sure? → General is the overall default.
Step 2. Upload Images — required. How many you can add depends on the model.
Step 3. Batch Mode — toggle. When on, each uploaded image is edited separately (one result per image) instead of being combined into a single result.
Step 4. Prompt — describe the edit as a change: what to do, and what to keep the same (e.g. "keep her face and pose unchanged"). Vague prompts like "make it cooler" give unpredictable results.
Step 5. Aspect Ratio — sets the width-to-height ratio of the output. Leave on Auto to keep the first reference's aspect ratio.
Step 6. Resolution — output resolution tier (Seedream 5 Pro only). 2K produces a larger, more detailed image; 1K is faster and cheaper. Other models ignore this field.
Step 7. Number of images — how many variations to generate per run.
Step 8. Generate — starts the run. Credit cost per image and total cost are shown on the button before you confirm.
Pro tips
Always add a clear face image to preserve identity.
Include a full-body photo for better pose and proportion accuracy.
Use Batch Mode when applying the same edit to multiple images independently.
You can mix images from different sources — the model adapts lighting and composition.
For composition diversity, send results to the Variations tool.
For complex edits, apply changes step by step — first adjust pose, then modify clothing in a separate generation.
Troubleshooting
Didn't get the expected result? This may happen if the prompt is unclear or too complex, or the selected model isn't suited to this type of request. Try simplifying the prompt or switching models. If the issue persists, contact us in the support chat in the app, or email support@zencreator.com.
FAQ
What's next
Image Upscaler — sharpen and enlarge your result
Head & Face Swap — lock in a consistent face
Image to Video — animate the final image
Variations — generate more angles or looks from the winner