Video to Video
Transform a static photo into motion — or replace a person in a video — with our AI Video to Video Generator. Upload one photo and one video to create dynamic, cinematic results with high visual consistency.
Written By Arina
Last updated 18 days ago
What the tool does
Video to Video works two ways: animate a still photo using the motion from a reference video, or swap the person in an existing video for someone else — while keeping the original scene, camera work, and motion intact. For example, bring a portrait to life with someone else's dance moves, or replace the presenter in a clip with your own photo. Fully supports NSFW.
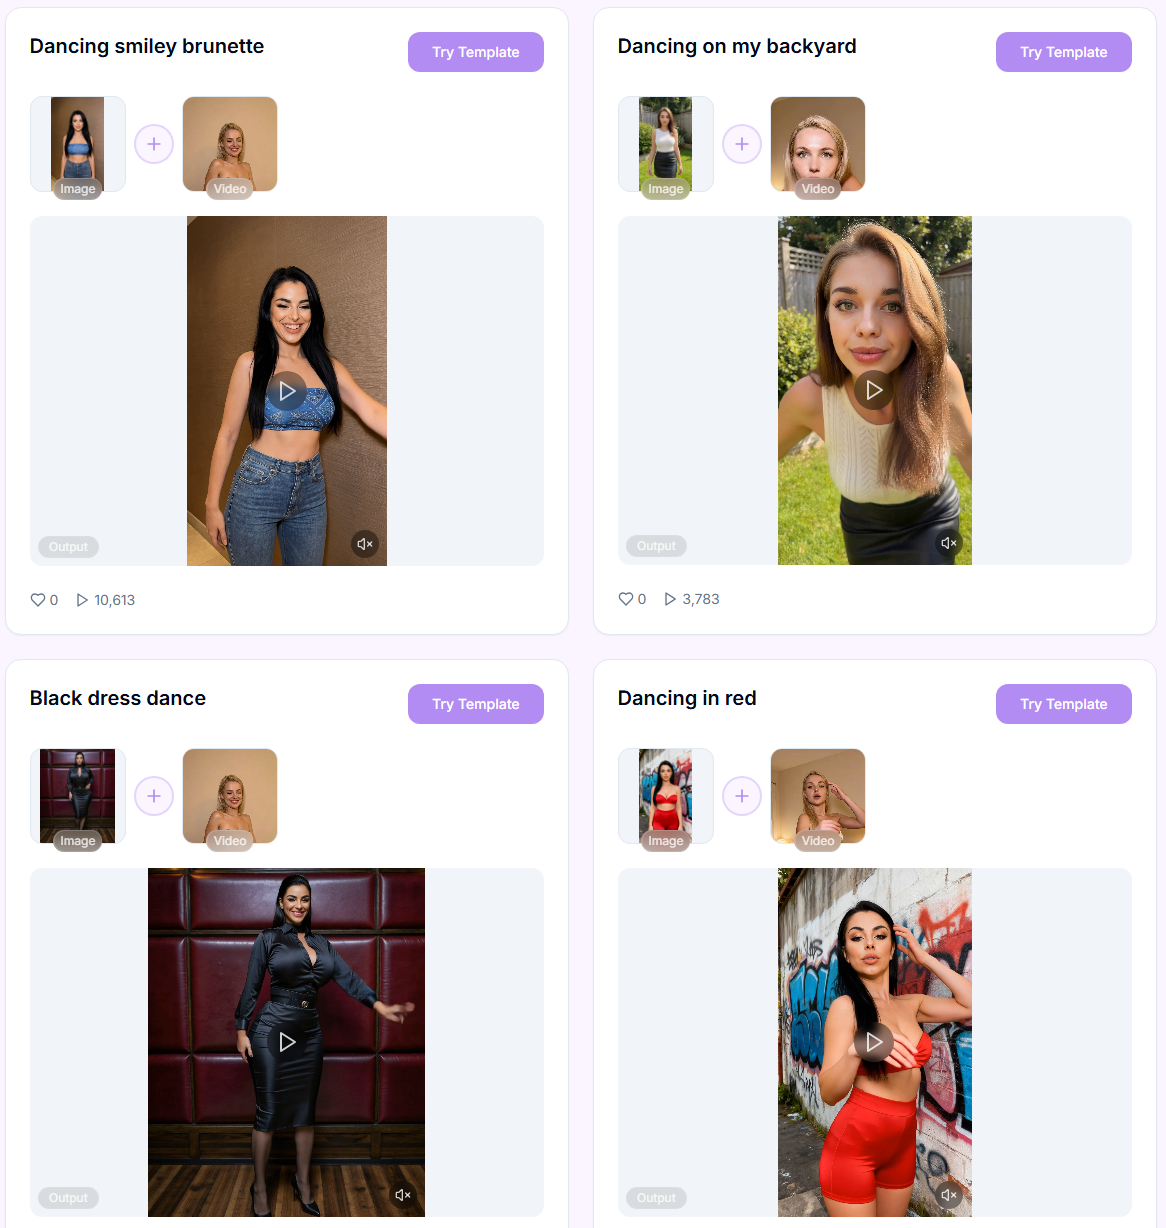
🎬 Results
A look at what Video to Video can produce from a photo and a reference video.
Don't want to set everything up yourself?
Skip the setup — pick a ready-made style from the Templates library and drop in your photo and video. Templates also show you what kinds of motion and scenes the model handles best.
Your step-by-step guide
Step 1. Model — choose which model drives the transformation from the drop-down list. Tap one below to see what it's best at.
Quick pick:
Need a long, multi-shot prompt-driven edit or transformation (up to 30s) with optional native audio and video/image/audio references combined - Wan 3.0 Spicy.
Need the highest quality choreography/dance transfer, SFW → Kling 2.6 Motion.
Want to bring a still photo to life with a reference video, most stable option, including NSFW → Dream Actor M2.0.
Same, but don't mind less stability → Animate.
Need to swap the person in an existing video while keeping the scene → Replace.
Editing a finished video (costume, background, lighting) while keeping motion and identity → Seedance 2.0 Uncensored or Seedance 2.0 Fast Spicy (cheaper, quicker).
Step 2. Upload your Image — choose a clear portrait or full-body photo of your character. Supported formats: JPG or PNG. The image should show a well-lit, unobstructed face (no sunglasses or strong shadows). Recommended minimum: 512px per side.
Step 3. Upload your Video — upload a video or paste a link (Instagram or TikTok) to use as the motion source. The video defines the movement, gestures, and expressions. Duration and frame rate are taken from the source video. The minimum charged duration is 5 seconds. Supported formats: MP4, MOV. You can also enable Keep original sound to preserve audio from the source video.
Step 4. Resolution — select the output video resolution. Most models offer 720p or 480p; Wan 3.0 Spicy and Kling 2.6 Motion also offer 1080p.
Step 5. Generate — click Generate and wait while the model processes your video. Each generation costs credits depending on the selected duration and settings. Your result appears in the task list, ready to preview, download, or send downstream.
Tips for Best Results
Match Composition & Pose — keep the uploaded image and video aligned in camera position and body pose. Misalignment can lead to facial distortion or frame mismatches.
Keep Aspect Ratios Consistent — if your photo and video have different aspect ratios, the AI must crop or stretch to fit. Matching ratios gives more accurate face mapping and smoother motion.
Quality Matters — the higher the resolution and clarity of your inputs, the better the output. Avoid blurry faces, overexposed lighting, or extreme motion blur.
Follow Template Examples — use the built-in templates in this tool to understand what the model can realistically achieve. They reflect the types of motion and scenes the model handles best.
Use Stable Video References — choose videos where the camera is stable and the face remains clearly visible and centered. Avoid complex scenes, fast movement, or frequent camera changes for more reliable results.
Troubleshooting
You're working with AI — occasional mistakes, artifacts, or unexpected results are normal, and a 100% correct result isn't guaranteed. If a clip doesn't look right, try regenerating or adjusting your inputs.
Animate and Replace may be unstable. Use only high-quality materials, and avoid long video references — otherwise we can't guarantee a normal result.
If something didn't work as expected, contact us in the support chat in the app, or email support@zencreator.com.
FAQ
Full model courses
Want to go deeper on a specific model's prompting style? Each has its own in-depth course inside ZenCreator:
What's next
Video Upscaler — sharpen and enlarge your result
Video Merger — combine clips into a longer video
Image Editor — polish your source photo before uploading