Text to Video
Write a prompt, choose a model (Wan 2.2 Spicy, Wan 2.7 Spicy, Seedance 2.0 Uncensored, Seedance 2.0 Fast Spicy), choose resolution up to 1080p and download your clips.
Written By Arina
Last updated 18 days ago
What the tool does
Text to Video creates videos directly from text — no reference image needed. You control the subject, appearance, setting, lighting, camera angles, composition, and style. Select a model, write a prompt, and choose the aspect ratio and duration. Results are commercially licensed and can be sent downstream to any ZenCreator tool. Fully supports NSFW.
🎬 Results
A look at what Text to Video can produce from a prompt alone.
Don't want to set everything up yourself?
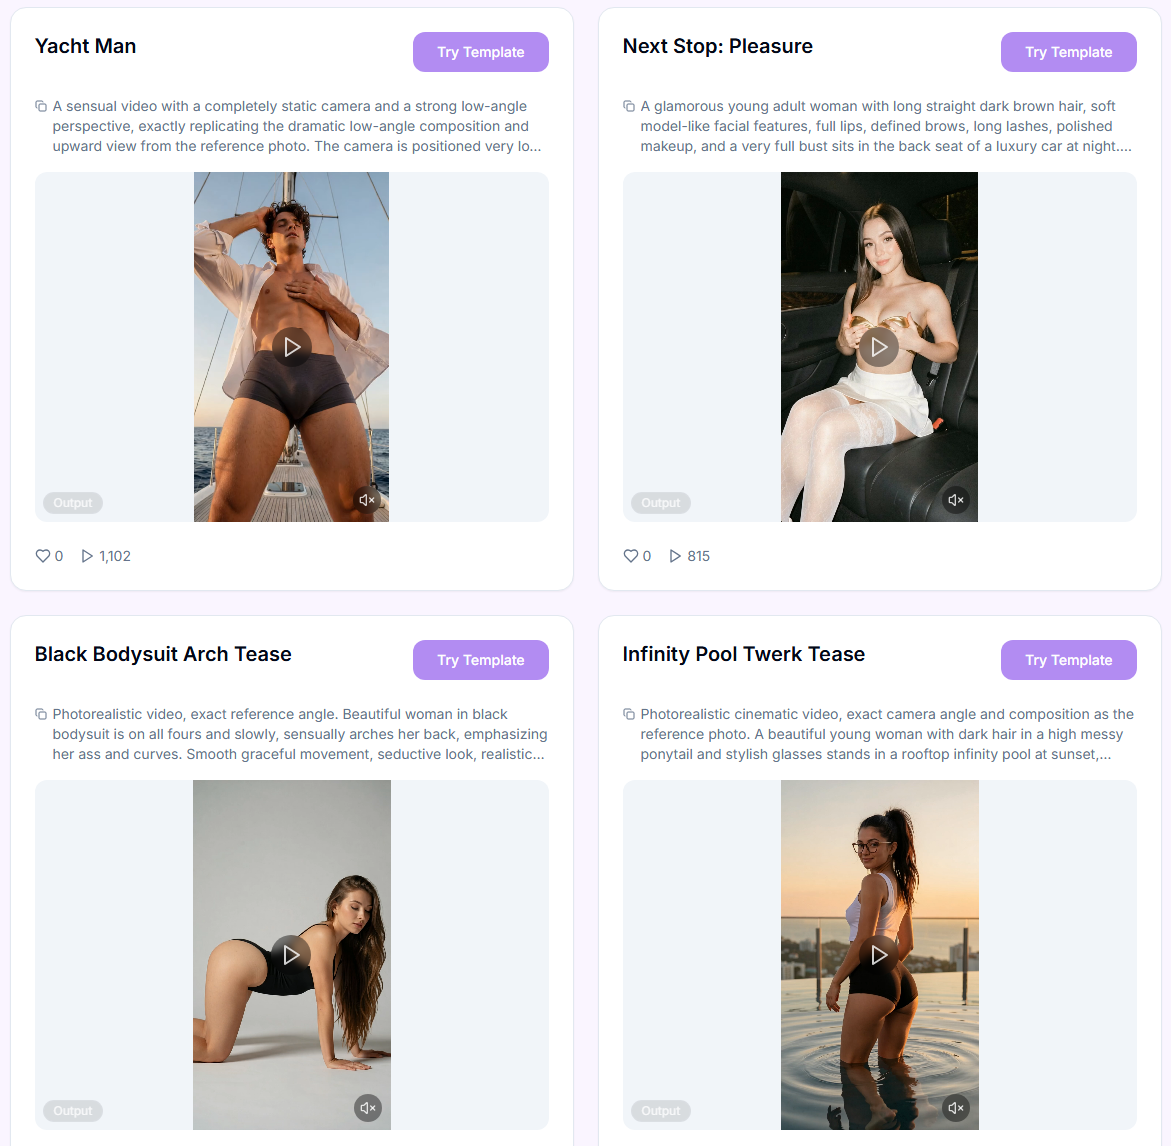
Skip the setup — pick a ready-made style from the Templates library and just add your prompt.
Your step-by-step guide
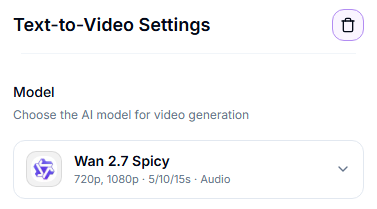
Step 1. Model — choose which model generates your video from the drop-down list. Tap one below to see what it's best at.
Quick pick:
Need the longest single-pass clip (up to 30s) with optional native audio and multi-shot scripting - Wan 3.0 Spicy.
Need high-detail NSFW with dramatic camera moves and moody cinematic grading → Wan 2.2 Spicy.
Need the best motion quality, temporal consistency, and highest resolution → Wan 2.7 Spicy.
Need precise, structured multi-shot storyboards with timecodes and wide aspect ratio support → Seedance 2.0 Uncensored (or Fast Spicy for quicker, cheaper drafts).
Need synchronized audio generated with your video → Wan 2.7 Spicy, Seedance 2.0 Uncensored, or Seedance 2.0 Fast Spicy — Wan 2.2 Spicy doesn't generate audio, but is the cheapest option.
Step 2. Prompt — describe the video you want to generate. Keep it focused: subject + motion + scene. Up to 2,000 characters.
Step 3. Aspect Ratio — select the desired aspect ratio (for example, 1:1, 3:4, 9:16). This determines the width-to-height ratio of the output.
Step 4. Resolution — select the desired resolution.
Step 5. Duration — select the desired video duration: 5–8s on Wan 2.2 Spicy, 5–15s on Wan 2.7 Spicy and the Seedance models, or 5–30s on Wan 3.0 Spicy (exact options vary slightly by model).
Step 6. Start Generation — starts the run. Review the results, then download them or send them downstream.
Actioning results
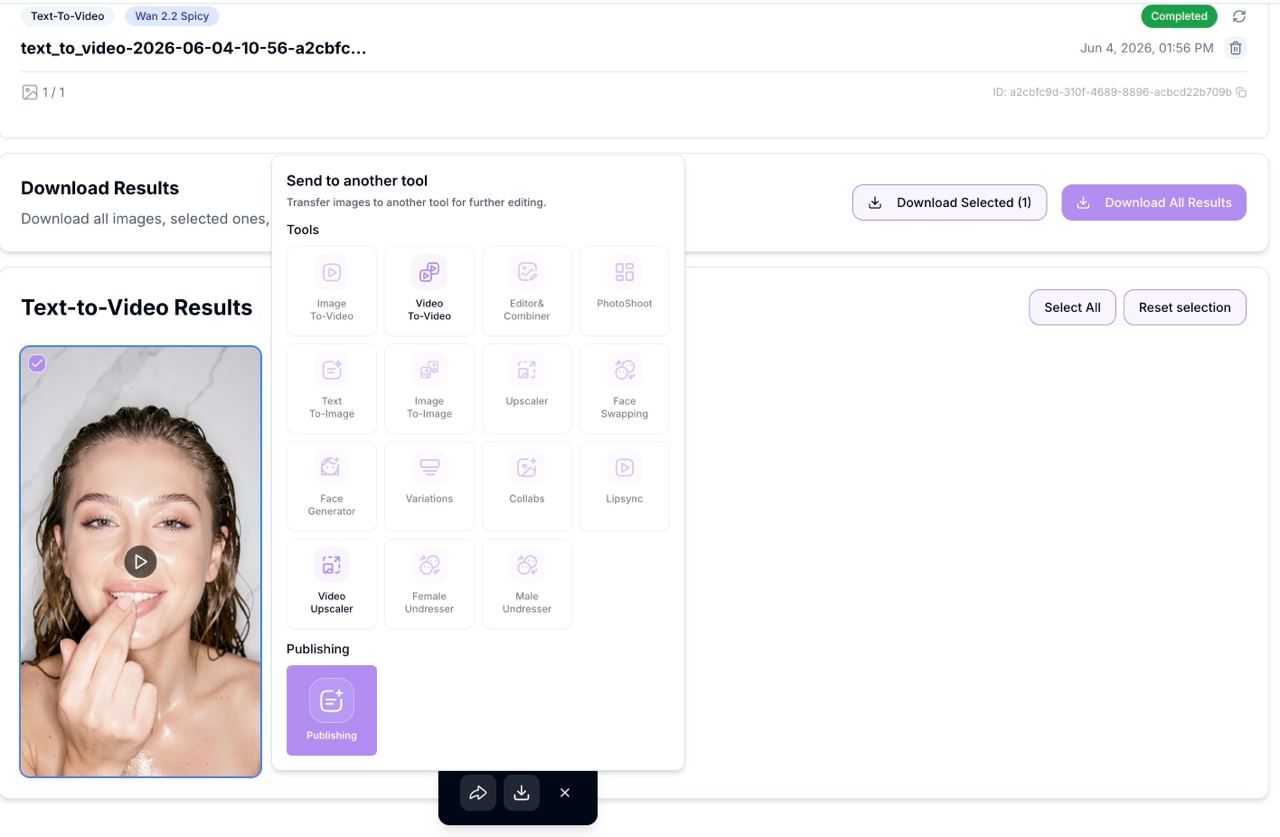
Use the checkboxes on thumbnails to select/deselect.
Download selected.
Send to another tool to continue the pipeline (Video Upscaler, Video to Video).
Retry Failed appears automatically if any frames mis-rendered.
Prompting tips for video
Focus on motion and camera: "gentle parallax, slow dolly-in, subtle hair flutter, cloth ripple, soft depth-of-field."
Keep it one idea per clip. If you want multiple motions, render separate versions (it's faster and cleaner).
For identity consistency, describe key facial/hair traits in the prompt and choose the same model/duration across the batch.
Best practices & pro notes
Start with 5-second clips — it's faster and cheaper to finalize the prompt, style, lighting, and movement that way. Only after the visuals are approved should you move to 8-second (Wan 2.2), 10–15-second (Wan 2.7), or up to 30-second (Wan 3.0 Spicy) clips.
Use prompts that are as precise and structured as possible. With minimal filters, vague wording doesn't handle complex poses and anatomy well.
Without a reference image, describe the character's appearance at the start of the prompt: age, body type, facial features, hairstyle, clothing, lighting, and mood. The more detailed the description, the more consistent and high-quality the result.
Known limitations (and how to mitigate)
You're working with AI — occasional mistakes, artifacts, or unexpected results are normal, and a 100% correct result isn't guaranteed.
Anatomy and fine details can drift — use simple poses and clear prompts.
Results can vary — generate several versions and pick the best.
If something didn't work as expected, contact us in the support chat in the app, or email support@zencreator.com.
FAQ
Full model courses
Want to go deeper on a specific model's prompting style? Each has its own in-depth course inside ZenCreator:
What's next
Video Upscaler — sharpen and enlarge your result
Video to Video — restyle or continue editing your clip