Face Generation
Generate photorealistic faces in seconds and send the best shots straight into other tools.
Written By Arina
Last updated About 1 month ago
What the Face Generation tool does
Face Generation converts a set of appearance parameters — gender, age, ethnicity, body type, eye color, hair details — into unique portraits in ≈15s. Every result is royalty-free for commercial use — send the best shots straight into Image Upscaler, Head & Face Swap, Image to Video, or Variations workflows.
🎬 Results
A look at what Face Generation can produce.
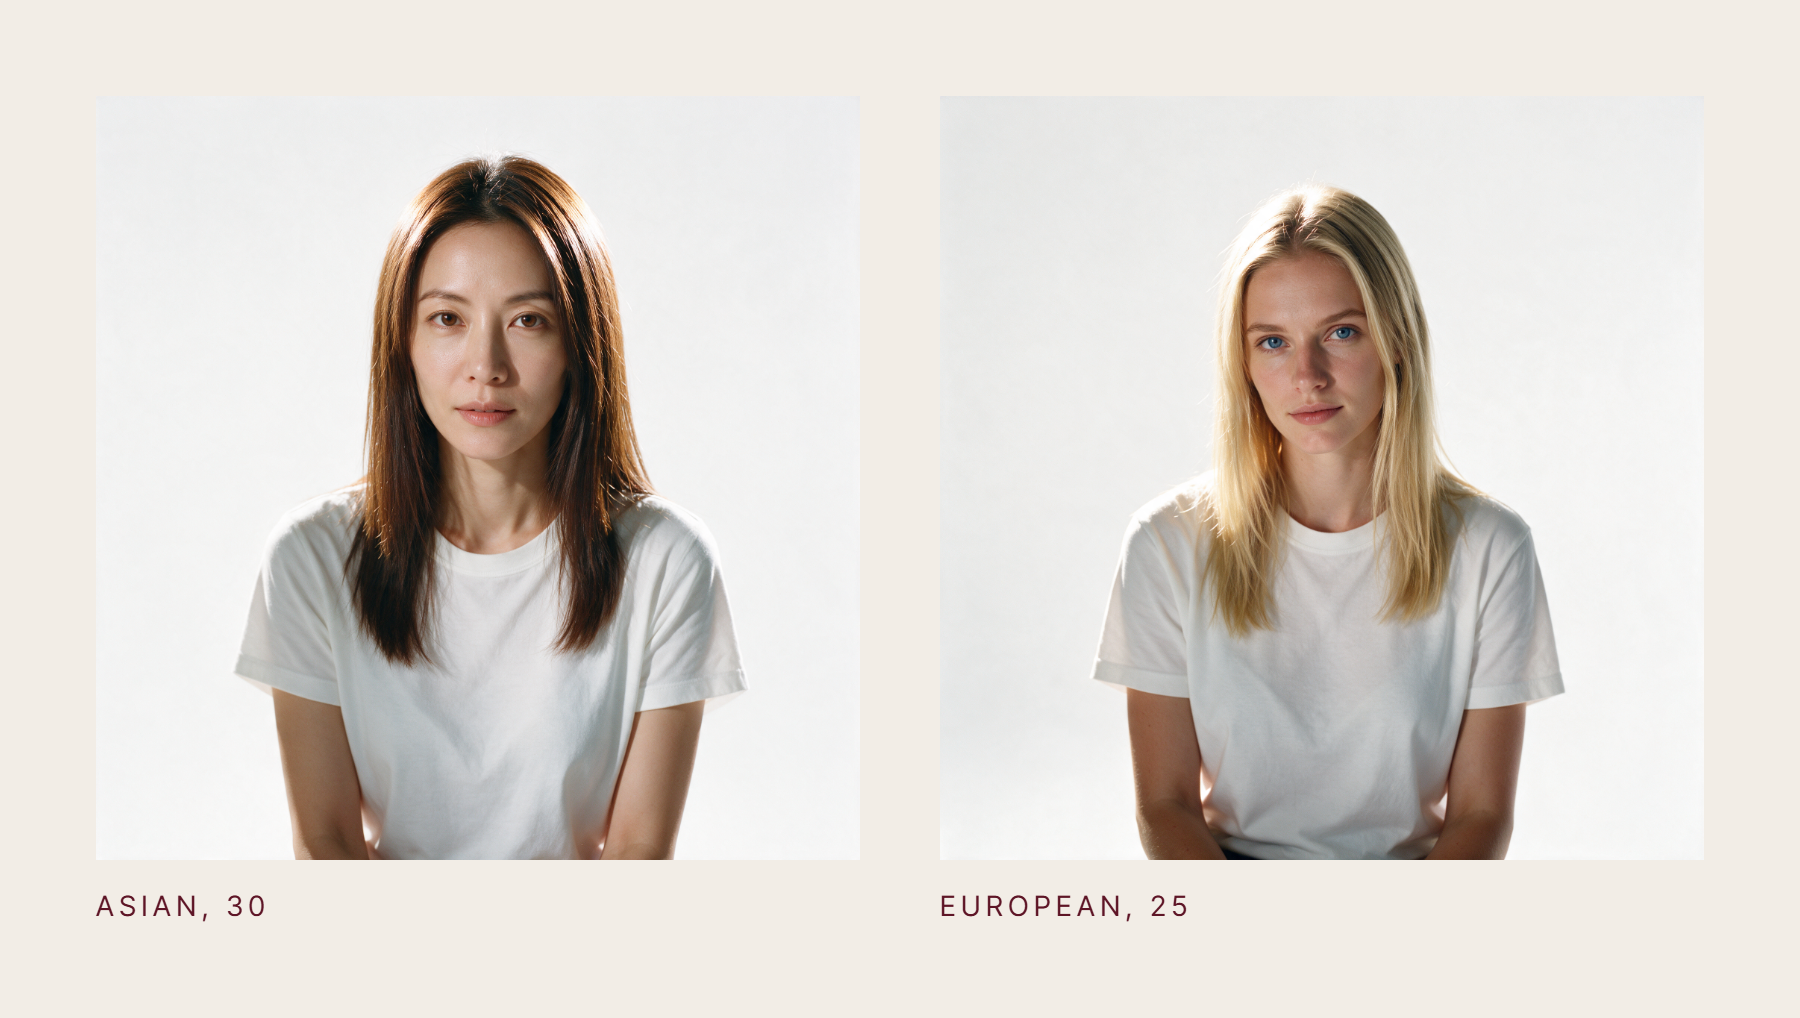
Your step-by-step guide
Step 1. Surprise Me (optional) — quickly fills the generator with a random combination of settings. Perfect for inspiration, testing different looks, or rapid batches.
Step 2. Gender (required) — choose between Female and Male. Some appearance settings change depending on the selected gender.
Step 3. Age (required) — adjust the slider to define the approximate age of the generated character.
Step 4. Ethnicity (required) — select the character's ethnicity: European, Asian, Latin American, African, or Middle Eastern.
Step 5. Body Type — choose the body shape: Slim, Athletic, Average, Curvy, Muscular, or Plus Size. The result is a face portrait — Body Type influences facial structure and proportions, not the body itself.
Step 6. Eye Color — select the eye color for the generated character. Both natural and stylized shades are available.
Step 7. Hairstyle — choose the hairstyle: Straight, Wavy, Curly, Kinky/Coily, Braided, Bun, or Ponytail.
Step 8. Hair Color — select a natural or fantasy hair color: Light Blonde, Blonde, Honey Blonde, Ginger, Light Brown, Brown, Black, Gray, Green, Blue, Violet, or Pink.
Step 9. Resolution — choose the output resolution (e.g. 2K).
Step 10. Number of Images — select how many faces to generate in this run.
Step 11. Start Generation — starts the generation process using your selected settings. The credit cost per image is shown below the button before you confirm. Fields marked with a red asterisk are required.
Quick-start walkthrough
Choose traits or smash Surprise Me.
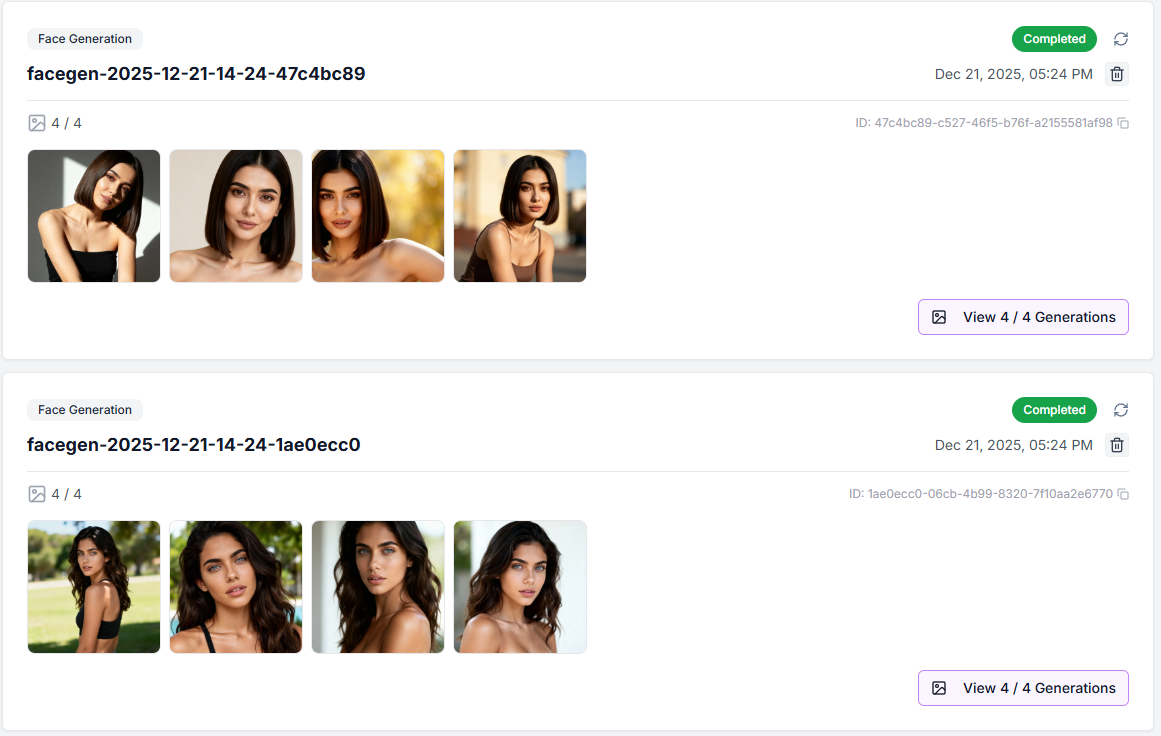
Confirm the cost and hit Start Generation. A task tile appears on the left ("facegen-YYYY-MM-DD-HH-MM-ID").
Watch status – Created → Processing → Completed / Failed. Time-outs auto-retry once; persistent fails are flagged.
Click the task tile (or View X/4 Generations) to open the Results page.
Actions on results
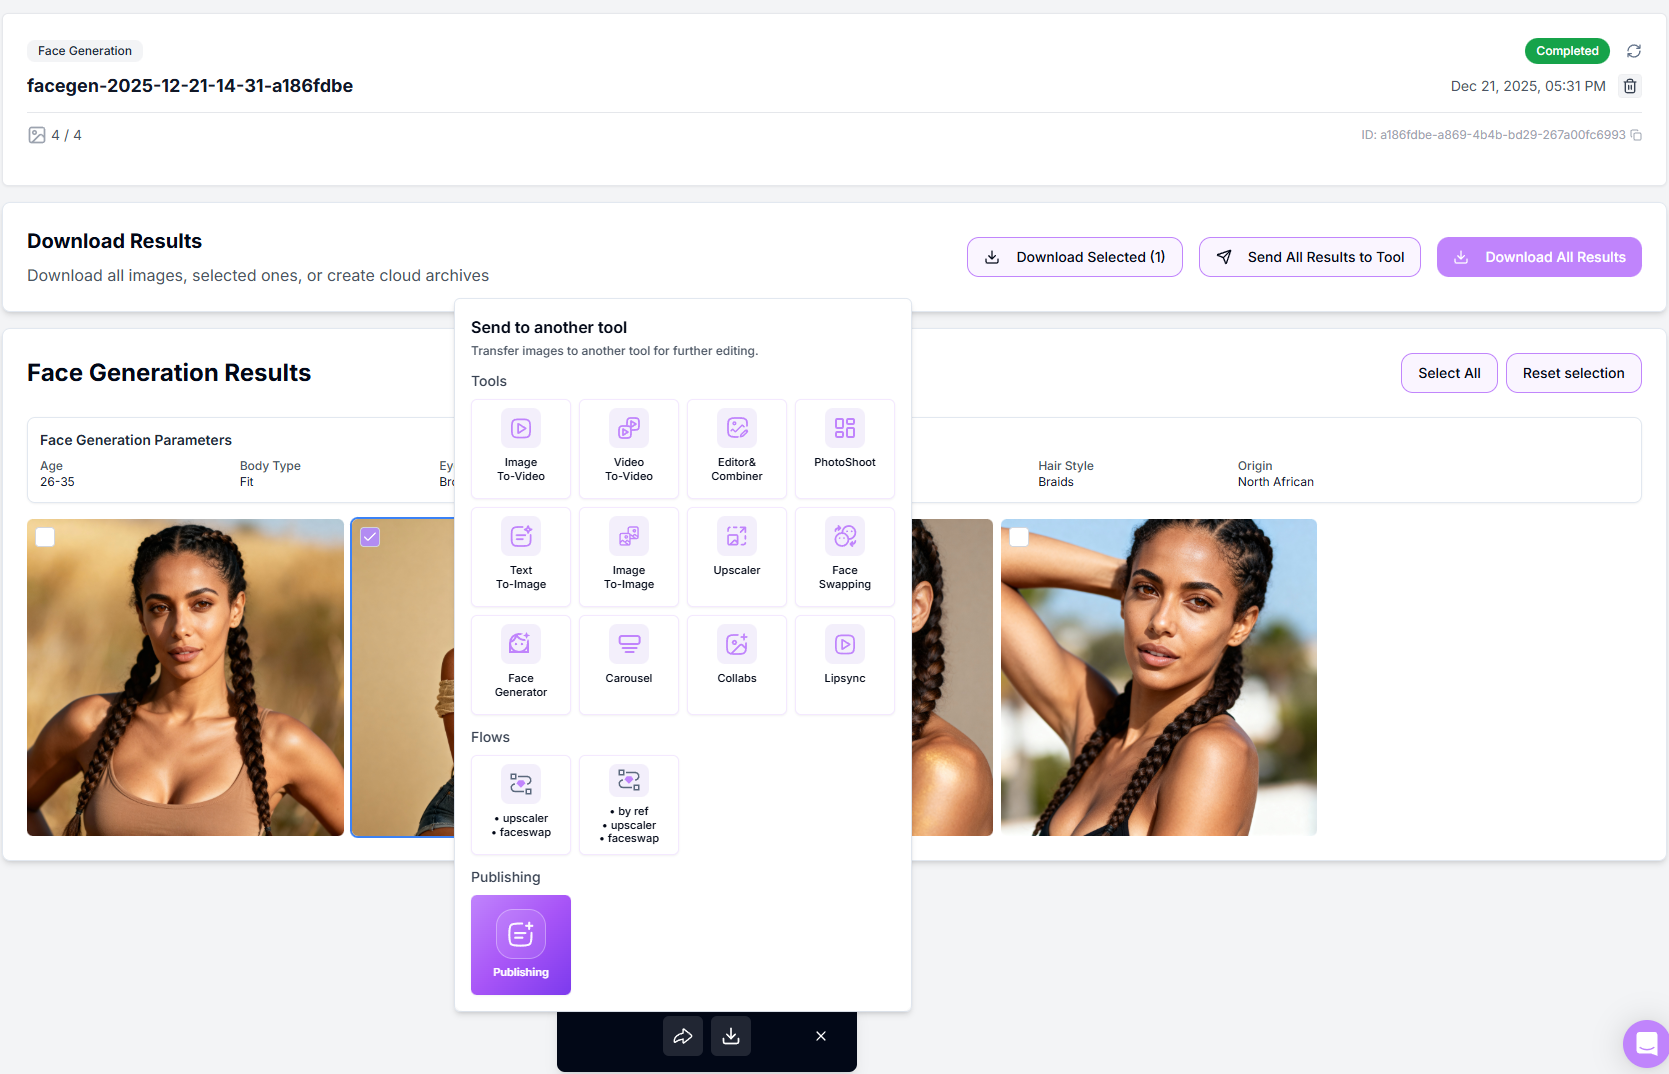
Select / Deselect: use the checkbox in each thumbnail corner.
Retry Failed: visible if any of the four render errors out.
Send Selected to Tool or to Publishing: open the mini-launcher for Head & Face Swap, Image Upscaler, Reference-To-Image, Image to Video, or Variations.
Download Selected / Download All: one-click ZIP export.
Create Cloud Archive: store images straight to your connected S3 or Google Drive bucket.
Pro tips
Batch like a pro → queue 50+ jobs; GPU auto-scaling keeps average wait ≈15–25s.
Use Surprise Me three times, favourite the best eight faces, then pipe to Image Upscaler → Variations for a polished "Meet the Team" social post in under five minutes.
Troubleshooting
You're working with AI — occasional mistakes or artifacts are normal, and a 100% correct result isn't guaranteed.
Task failed? Try restarting it using Retry. If the issue persists, contact support and we'll take a look.
Blurry outputs? Send directly to Image Upscaler.
Still stuck? Ping us via the chat bubble or email support@zencreator.com.
FAQ
What's next
Head & Face Swap — apply this face to other images
Image Upscaler — sharpen and enlarge your result
Reference-To-Image — build variations from this face